How to Upgrade a PC
By Marlo Strydom · Published
Learning how to upgrade a PC starts with a clear goal: faster startup, smoother games, more room for files, or better performance in the apps you use. That goal helps you decide which part to replace and what to check before buying it. From there, the job follows a simple order: confirm compatibility, protect your files, install the part, and test the result.
If you do not know which component to replace, use the PC upgrade planner before buying parts.
The installation steps below cover desktop PCs. For a laptop, read the laptop upgrade limits first. If several parts need replacing, compare upgrade and replacement costs before ordering.
1. Choose Which PC Part to Upgrade
Start with the exact task that feels slow. Open Task Manager, select Performance, and repeat that task. The Microsoft Task Manager guide explains that this view reports CPU, memory, storage, and other resource use. Watch the pattern through the full task instead of choosing a part from one brief spike.
| Problem | What to Check | Possible Next Step |
|---|---|---|
| Slow startup and long app load times | Check whether Windows and the apps are on a hard drive. | Move the system to a compatible SSD. |
| Stutter with many apps open | Watch memory use and check whether the system starts using the drive heavily. | Add compatible RAM if memory is the limit. |
| Low frame rate in games | Compare CPU and GPU load in the same scene at the settings you use. | Upgrade the part that keeps limiting the test. |
| Not enough room for files or games | Check free space and the storage slots or drive bays still available. | Add or replace a drive. |
| High heat or loud fans | Check temperatures, dust, fan operation, and cooler mounting first. | Repair the cooling problem before buying a faster part. |
A busy component is not always faulty. It may simply be doing most of the work. Compare performance in the same program before and after any change. For gaming, the PC bottleneck calculator can provide another starting point, but a real test on your computer should guide the final choice.
Where Most Upgrades Pay Off First
Your own measurements should decide the order. When you cannot test, or when several parts look weak at once, this is the sequence that returns the most for the money on a typical older desktop:
- SSD, if Windows still runs from a hard drive. Nothing else changes startup, app loading, and general responsiveness by as much for the price.
- RAM, if the system stalls with several apps open. Check current use in Task Manager first, since more memory does nothing when memory was never the limit.
- Graphics card, for low frame rates in games. Confirm the GPU is at full load while the CPU has headroom in the same scene.
- Cooling and cleaning, if speeds drop as the PC gets hot. This is often free and can restore performance a new part would only mask.
- CPU and motherboard last. This is the most expensive and most disruptive path, and it is the one most likely to cost as much as a new system.
Treat that list as a default, not a rule. A video editor short on memory and a gamer short on graphics power will correctly reach different conclusions from the same PC.
2. Check That the New Part Is Compatible
Write down the exact model of the motherboard, case, power supply, and part you plan to replace. Then use the motherboard manual, its CPU support list, and the product pages for the case and power supply. A family name such as “Core i7” or “GeForce RTX” is not specific enough to confirm a fit.
| Part | Compatibility Checks |
|---|---|
| CPU | Motherboard socket, exact CPU support list, required BIOS version, cooler mount, and cooling needs. |
| RAM | DDR generation, desktop DIMM format, capacity limit, number of slots, and the manual's recommended slot order. |
| Graphics card | Card length, height, and thickness; case clearance; PCIe slot; power connectors; and power supply capacity. |
| M.2 SSD | Supported M.2 length, SATA or PCIe interface, keyed socket, available PCIe lanes, and any ports the slot disables. |
| SATA drive | Open drive bay, SATA data port, SATA power plug, and room for both cables. |
| Power supply | Case form factor, rated output, required connectors, cable reach, and manufacturer-approved modular cables. |
| CPU cooler | Socket bracket, cooler height or radiator size, case mounting points, RAM clearance, and fan or pump headers. |
Use the dimensions for the exact graphics card model, since coolers differ between cards that use the same GPU. Enter the finished parts list in the PSU wattage calculator, then compare its result with the graphics card maker's power advice and the connectors on the chosen supply.
Two results should push you toward a new supply even when the wattage figure passes. A unit that lacks the connectors your card requires should be replaced rather than adapted, and a unit that is several years old or would sit near its rated limit leaves no margin for the rest of the system.
Check the required BIOS version before removing a working CPU. Some motherboards need an update before they can start with a newer processor. If an update is needed, follow the exact motherboard instructions. The Intel BIOS guide explains why model-specific files and uninterrupted power matter during the update.
3. Back Up Your Files and Prepare the PC
Back up every file you cannot replace, then open a few files from the backup to make sure it works. Microsoft's Windows Backup guide covers files and settings that can be saved through a Microsoft account. Use a separate full backup method when the upgrade includes the Windows drive.
Save the recovery key if device encryption or BitLocker is active. Firmware and hardware changes can cause Windows to ask for it. Follow Microsoft's BitLocker key guide and keep the copy away from the encrypted PC. Before changing the motherboard, also link the Windows license to your Microsoft account as described in the Windows activation guide.
Gather the Tools and Files
- A Phillips screwdriver that fits the case and component screws.
- A small tray for screws and a light for dark corners.
- An antistatic wrist strap or another safe way to stay grounded.
- Thermal paste and cleaning supplies if the CPU cooler will come off.
- The motherboard and case manuals, either printed or open on another device.
- Current motherboard, network, and graphics drivers saved to a USB drive.
Make Windows installation media before changing the system drive if you plan a clean install. Use Microsoft's installation media guide so the USB drive comes from the official source.
Shut Down Safely
- Shut down Windows fully.
- Turn the power supply switch off and unplug the power cord.
- Disconnect the other external cables and move the case to a clean, stable surface.
- Remove the side panel and take clear photos of every cable you may disconnect.
- Attach the antistatic strap as its instructions describe, and handle circuit boards only by their edges.
The Intel installation guide calls for antistatic protection and warns against touching processor contacts.
4. Install Your Upgrade: Steps for Each Component
Change one major part at a time when possible. A single change makes a problem easier to trace. Read the instructions for your exact hardware before using the steps below, since latches, screws, and cable positions can vary.
Set aside more time than the fitting itself needs. Seating memory or an M.2 drive is often ten to twenty minutes of work, a graphics card twenty to thirty, and a processor or power supply an hour or more once cooler mounting and cabling are included. Backups, driver installation, and the testing in step 6 take longer than any of those.
Upgrade the RAM
- Use the motherboard manual to find the correct slots for the number of modules.
- Open the slot latches. Some boards have a latch on only one end.
- Line up the off-center notch in the module with the key in the slot.
- Press straight down on both ends until the module is level and the latches lock.
Do not force a module that will not sit flat. Check its direction and memory type again. After startup, confirm the full amount in Task Manager. The official Crucial RAM guide shows the notch, slot, latch, and antistatic checks. Our RAM configuration tool can help you plan matched modules and slot placement before installation.
Upgrade or Add Storage
For an M.2 drive, open the correct socket, remove its screw or tool-free catch, insert the drive into the socket, and secure it without bending the board. Refit the motherboard heat spreader if one is supplied, following its thermal pad instructions. For a SATA drive, secure it in a bay, connect a SATA data cable to the motherboard, and attach SATA power from the power supply. The ASUS M.2 guide illustrates a typical desktop installation, but the motherboard manual decides which socket and fastener to use.
A new blank data drive may need to be initialized, partitioned, and formatted before File Explorer can use it. Microsoft's Disk Management guide covers those steps. If you are replacing the Windows drive, clone it with instructions from the drive maker or perform a clean install. Keep the old drive unchanged until the new one has started several times and your files are present.
Upgrade the Graphics Card
- Disconnect the display cable and every power plug from the old card.
- Remove its case screws, release the PCIe slot latch, and lift the card out by its edges.
- Remove enough rear slot covers for the new card.
- Press the new card evenly into the main PCIe graphics slot until the latch closes.
- Secure the bracket and attach every power connector listed in the card manual.
- Connect the monitor to the new graphics card, not the motherboard video port.
AMD's official graphics card removal guide and installation guide show the same basic sequence. Use the manual from your card maker for its connector and support requirements.
Upgrade the CPU or CPU Cooler
- Complete any required BIOS update while the old CPU can still start the board.
- Unplug the cooler fan or pump, loosen the mount in the stated order, and remove the cooler gently.
- Clean the old thermal material from the CPU and cooler contact plate.
- Open the socket, lift out the old CPU by its edges, and protect it in an antistatic holder.
- Match the triangle and alignment notches, then lower the new CPU into place without force.
- Lock the socket, apply thermal paste as the cooler maker directs, and install the cooler evenly.
- Connect the cooler to the CPU fan or pump header named in the motherboard manual.
Socket designs differ, so the exact board and processor instructions take priority. Intel's processor installation guide shows the alignment, contact, cooler, and antistatic precautions for its supported sockets.
Upgrade the Power Supply
Photograph and label every old connection. Support the power supply while removing its case screws, then mount the new unit in the airflow direction allowed by the case. Connect the motherboard power, CPU power, graphics card power, and storage power required by your parts.
Important: Replace every detachable modular power cable with the cables supplied for the new unit unless the power supply maker confirms the exact cable is compatible. Plugs can look alike while using different wiring. The Corsair PSU manual also warns users to use only approved modular cables and never open the unit.
Upgrade the Cooling
Use the correct socket bracket, keep fans clear of cables, and follow the arrows on each fan for airflow direction. Noctua's airflow guide shows how to identify the direction when arrows are not visible. Connect case fans to the headers named in the motherboard manual. If you add or move several fans, use the PC airflow guide to plan a clear path through the case instead of adding fans at random.
5. Start the PC and Set Up the New Hardware
- Check the 24-pin motherboard, CPU power, graphics power, storage, and cooler connections once more.
- Reconnect the monitor, keyboard, power cord, and any other device needed for startup.
- Turn on the power supply, then start the PC.
- Enter BIOS or UEFI and confirm that the CPU, full memory amount, storage, and cooling fans are detected.
- Keep memory overclocking and other tuning at default settings until the new hardware is stable.
- Select the correct boot drive, save the settings, and start Windows.
The Intel BIOS guide shows common ways to enter firmware, while the motherboard manual names the correct key and menus for your board. Windows may install a basic driver at first. Follow the Windows Update guide, then install the current chipset, network, and graphics drivers from the motherboard or component maker. If the motherboard was replaced, Windows may also need reactivation through the Activation troubleshooter in Microsoft's activation instructions.
None of this requires reinstalling Windows. Memory, graphics, storage, cooling, and power changes keep the existing installation, and even a motherboard swap is an activation and driver problem rather than a reinstall. Treat a clean install as a choice you make for a cluttered system, not a step the upgrade forces on you.
6. Check That the Upgrade Works and Improves Performance
First, check Device Manager for a warning beside the changed hardware. Microsoft's Device Manager reference explains what its error codes mean. Then repeat the same program, game scene, file copy, or export you tested before the upgrade. Compare its time, frame rate, and resource use with the original result. This proves whether the upgrade solved the intended problem.
- RAM: Confirm the full capacity, then run a complete memory test. Our RAM testing guide covers Windows Memory Diagnostic and MemTest86.
- Storage: Confirm the drive appears, files open, and the correct boot drive starts on its own.
- Graphics card: Run a familiar game and watch for crashes, display loss, or visual errors.
- CPU and cooling: Run a normal heavy task while watching clock speed, temperature, and fan operation.
- Power supply: Test a normal combined workload and listen for any unusual electrical sound.
Use temperature limits from the exact CPU, GPU, and cooler makers instead of one universal number. If CPU speed falls as temperature reaches its limit, work through the thermal throttling guide. Keep the old part and the new packaging until the upgraded PC passes every test you need.
7. Troubleshoot a PC That Will Not Start After an Upgrade
Turn the PC off, switch off the power supply, and unplug the cord before touching internal parts again. Then reverse the last change through this order:
- Check the power supply switch, wall power, and front-panel power button cable.
- Press the 24-pin motherboard, CPU power, graphics power, and RAM firmly into place.
- Make sure the display cable is connected to the graphics card when one is installed.
- Read the motherboard debug light, code, or beep pattern in its manual.
- Try one RAM module in the board's recommended single-module slot.
- Reseat the graphics card and confirm that its slot latch is closed.
- For a CPU change, check the support list and required BIOS version again.
- Clear the CMOS only by following the motherboard manual.
- Reinstall the old part. If the PC starts, recheck the new part's fit, support, and condition.
Intel's no-boot checklist also covers power connections, minimum hardware, memory tests, BIOS compatibility, and visible socket damage. Stop testing if you smell burning, see smoke, find liquid, or notice damaged contacts. Disconnect power and have the system checked by a qualified repairer.
Decide Whether to Upgrade or Replace the PC
Upgrade when one compatible part can meet your goal and the rest of the computer is still useful. A desktop with enough case space, suitable power, and an open storage or memory slot is often simple to improve.
Price the whole platform before replacing a CPU. A new processor can also require a different motherboard, memory type, cooler bracket, or firmware version, because the memory controller sits inside the CPU and sets which memory the system can use. Intel upgrade guidance tells users to confirm the motherboard socket, BIOS support, memory compatibility, power needs, and cooling before a processor change. The same type of check applies to an AMD platform through its motherboard support page.
Replacing or rebuilding the PC may make more sense when several core parts fall short, the case or power supply uses a proprietary design, or the required platform parts cost close to a complete system. Use the upgrade or buy-new PC checker to decide whether the current computer is worth further investment.
What the Upgrade Is Likely to Cost
Cost decides this more often than performance does. The figures below are broad US dollar ranges meant to show relative scale, not current quotes. Component prices move constantly, so check retail prices for your exact part before committing.
| Upgrade | Typical Cost Range | What It Usually Changes |
|---|---|---|
| Cleaning and new thermal paste | Under $20 | Restores speeds lost to heat on a dusty or aging system. |
| RAM (16GB to 32GB kit) | Tens to low hundreds | Removes stalls when many apps or large files are open. |
| NVMe SSD (1TB) | Tens to low hundreds | Cuts startup and load times sharply when replacing a hard drive. |
| CPU air cooler | Tens | Holds boost clocks longer and lowers fan noise. |
| Quality power supply | Around one hundred | Supports a larger graphics card and reduces instability risk. |
| Mid-range graphics card | Mid hundreds | Raises frame rates most in GPU-limited games. |
| CPU, motherboard, and memory together | Several hundred and up | Moves to a new platform, and approaches the cost of a new PC. |
Note the pattern in that table. The cheapest entries sit at the top and often deliver the change users notice most. Set a ceiling before you shop: if the parts you need total more than roughly half the price of a suitable new system, price a complete build before ordering anything.
Upgrading a Laptop
Laptops allow far less than desktops. Storage can usually be replaced, and memory sometimes can, but many current models solder the memory to the mainboard and some solder the storage as well. The processor and graphics chip are effectively never user-replaceable. Find the service manual or memory specification for your exact model number before ordering a part, and treat a soldered configuration as a reason to price a replacement machine instead.
Related Posts
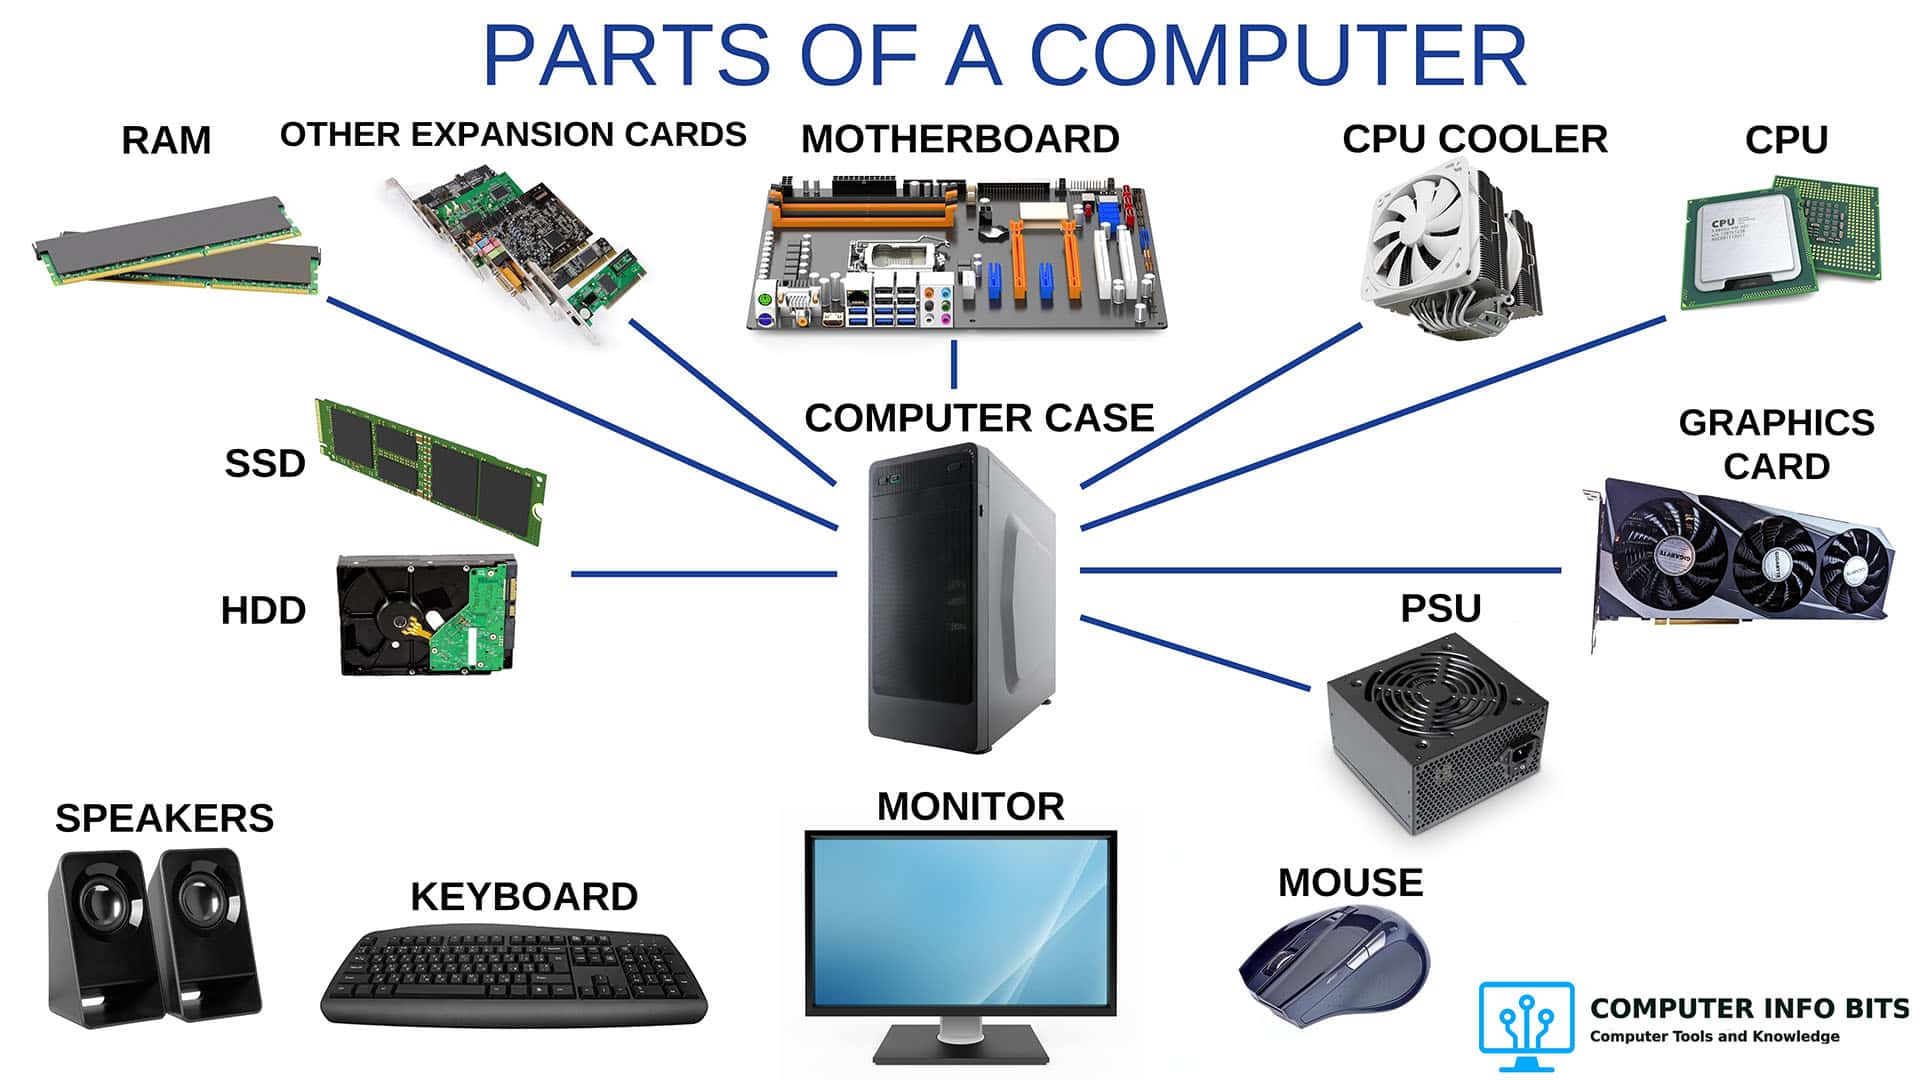
Parts of a Computer and Their Functions
Learn what each internal part does before deciding which one to replace.
Why Do Computers Slow Down With Age?
Separate software, storage, heat, and hardware limits before spending money.
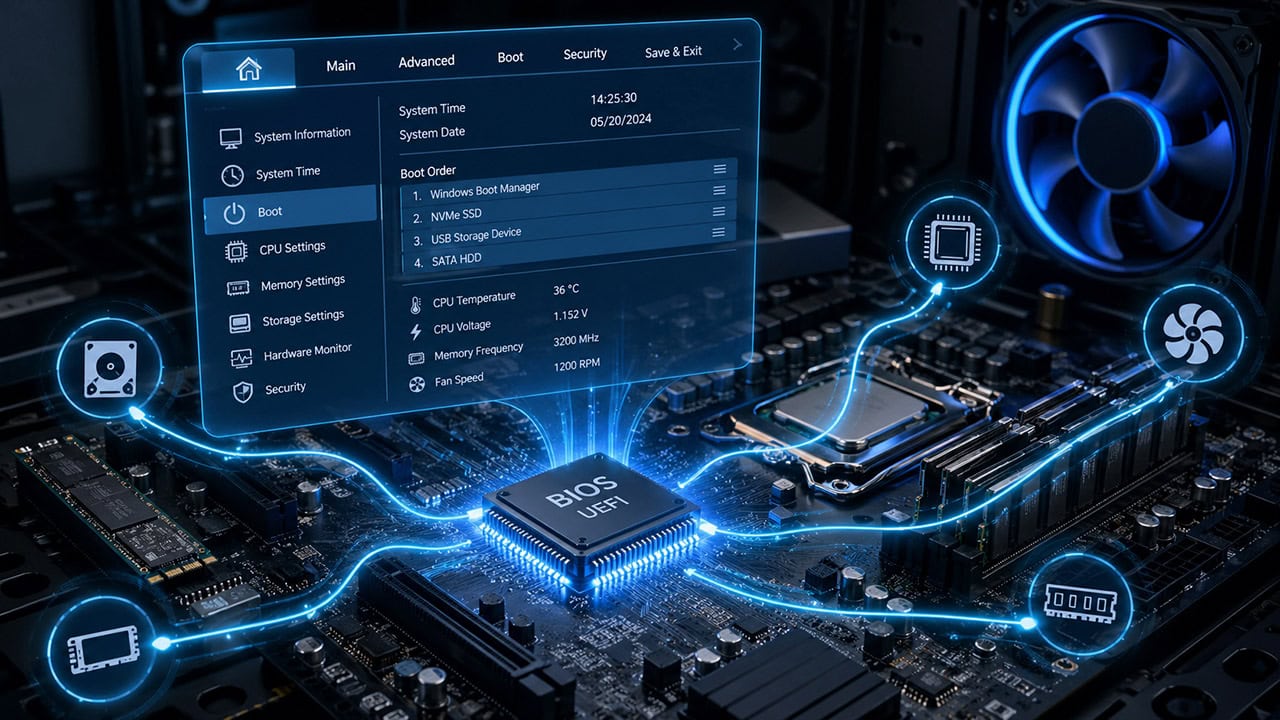
Understanding the BIOS and Its Main Functions
Understand the firmware that checks new hardware and starts the PC.
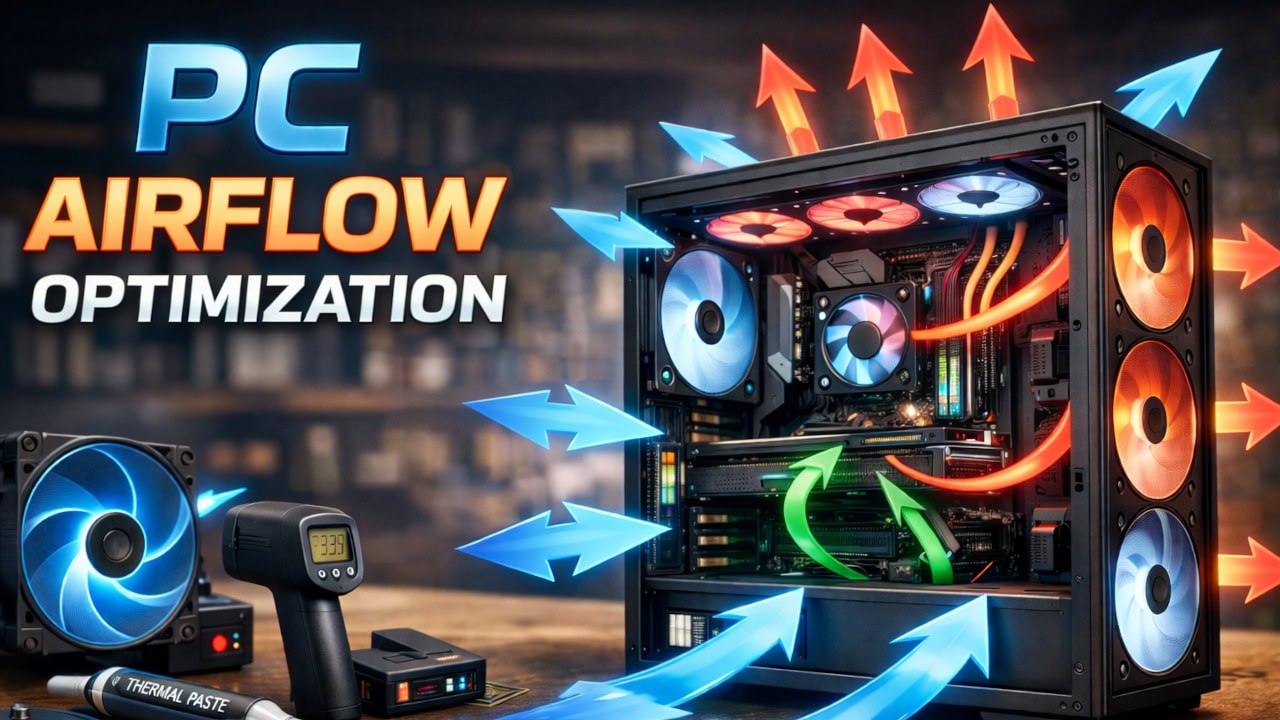
PC Airflow Optimization
Plan fan direction and a clear airflow path for hotter upgraded parts.