How to Check If RAM Is Working Properly
By Marlo Strydom · Last updated
How to check if RAM is working properly comes down to two things: Windows should detect the full amount, and the memory should pass a proper test with zero errors. Start with Windows Memory Diagnostic. If crashes continue, run MemTest86 before replacing a stick.
The Fastest Reliable Way to Test Your RAM
- Confirm that Windows detects all installed RAM. This catches a missing stick, but it does not prove that the memory is healthy.
- Run Windows Memory Diagnostic. It is built into Windows 11 and checks the memory during a restart.
- Run MemTest86 if errors appear or crashes continue. Finish the four default passes and look for zero errors.
A good result: Windows sees the expected amount, the tests report no errors, and the PC stays stable at the memory settings you plan to use.
Check That Windows Detects All of Your RAM
Press Ctrl + Shift + Esc to open Task Manager. Select Performance, then select Memory. This page gives you a fast view of the RAM that Windows can see.
- Total amount: compare it with the memory installed in the PC. Two 8 GB sticks should give you close to 16 GB in total.
- Speed: compare it with the speed you expect to use. Windows may show it in MT/s. A lower number may mean XMP or EXPO is off.
- Slots used: compare it with the number of sticks in the computer.
- Hardware reserved: note this value, but focus on whether a whole stick is missing.
Important: Task Manager does not test the memory cells. It only shows what the system reports to Windows.
If a whole stick is missing, shut down the PC, unplug it, and reseat that stick. Check the memory total in the BIOS too. If both the BIOS and Windows miss the same stick, test that stick and slot before moving on.
Run Windows Memory Diagnostic in Windows 11
Windows 11 includes a memory test that runs during a restart. Microsoft provides the current steps in its official Windows Memory Diagnostic instructions.
- Save your work: the PC must restart before the test can begin.
- Open the tool: press Windows + R, type
mdsched.exe, and press Enter. - Start the test: select Restart now and check for problems.
- Let it finish: the Standard test starts on its own. Press F1 if you want the longer Extended test, then press F10 to apply it.
- Read the result: Windows should show a notice after you sign in.
If you miss the notice, open Event Viewer. Go to Applications and Services Logs, Microsoft, Windows, MemoryDiagnostics-Results, then Debug. Open the newest result.
No errors found: the test did not find a problem during that run. Move to MemTest86 if the crashes continue.
Hardware problems found: the memory system is not stable. Test at default settings, then isolate each stick and slot.
Run MemTest86 for a More Complete Test
MemTest86 starts from a USB drive before Windows loads. That lets it test memory without Windows or other apps using most of the RAM. Download the free tool from the official MemTest86 download page.
- Create the USB drive: use the imaging tool in the download. The process erases the USB drive, so copy off any files first.
- Open the boot menu: restart the PC and press its boot-menu key. PassMark lists Esc, F9, F11, and F12 as common keys, but your manual has the right key.
- Select the USB drive: MemTest86 should open and start its normal test after a short countdown.
- Finish all four passes: the first pass is shorter. The later passes use longer tests.
- Check the error count: a clean run ends with zero test errors.
Test time depends on the CPU, memory speed, and amount of RAM. PassMark says the default is four passes and that the later passes take longer. Its test-time guide also notes that some systems may need an overnight run.
One error does not name the bad part. A repeatable error means the memory system is unstable. The cause may be a RAM stick, slot, CPU memory controller, motherboard, or memory setting. PassMark covers these causes in its memory error guide.
If an older PC will not boot the USB drive, check the download page again. The current MemTest86 release needs UEFI. PassMark also offers an older V4 release for legacy BIOS computers.
What Your RAM Test Results Mean
| Result | What it means | Next step |
|---|---|---|
| Windows sees all RAM, both tests show zero errors, and the PC is stable | RAM is less likely to be the cause | Keep using the settings you tested |
| Windows Memory Diagnostic finds a problem | The memory system is unstable | Turn off XMP or EXPO, then test each stick |
| MemTest86 errors only with a faster profile on | The profile is not stable on that setup | Use a lower speed or leave the profile off |
| Errors follow one stick in the same slot | That module is the likely cause | Check its warranty and replace it |
| Errors follow one slot or channel | The board, socket, or CPU path may be the cause | Inspect the socket and seek board or CPU service |
| Tests stay clean but crashes continue | The fault may be elsewhere | Check drivers, storage, power, and the CPU |
If a Memory Test Finds Errors
Do not replace a stick immediately. First test the RAM at its default settings. If errors continue, find out whether they follow a stick, slot, or memory channel.
Retest With XMP or EXPO Off
XMP and EXPO are saved memory speed profiles. Intel calls XMP a type of memory overclocking. AMD also describes EXPO as memory overclocking.
A RAM kit may pass at its default speed but fail with a faster profile turned on. The CPU, board, RAM, and BIOS all affect whether that profile stays stable.
- Enter the BIOS and turn off XMP, EXPO, or the memory profile shown by your board.
- Save the change and restart.
- Run MemTest86 again with the same test settings.
- Errors stop at default settings: the faster profile is not stable on this PC. Try a lower memory speed, update the BIOS if the board maker lists a memory fix, or leave the profile off.
- Errors stay at default settings: move to one-stick testing. The problem may be a stick, slot, channel, board, or CPU memory controller.
BIOS names can vary. ASUS, for example, may show XMP, EXPO, or DOCP. Its official memory profile guide shows where those settings appear on supported boards.
Test Each Stick and Slot
Use the same test setup for each part. Label the sticks before you begin so you do not mix up the results.
Before touching RAM: shut down the PC, switch off the power supply if it has a switch, unplug the power cable, and hold each module by its edges.
- Pick one test slot: use the single-stick slot named in the motherboard manual.
- Test the first stick: install only that stick and run MemTest86.
- Test every other stick: use the same slot and the same MemTest86 settings.
- Compare the results: if one stick gives repeatable errors while the others stay clean, that stick is the likely cause.
- Check the slots: place a known-good stick in each slot. If errors stay with one slot or channel, the board, CPU socket, or CPU memory controller may need service.
Reseat the RAM before you replace it. PassMark notes that moving a module can improve a poor contact and change the result. Use the steps in our guide on how to clean RAM contacts if the contacts or slots look dirty.
Errors only when several sticks are installed: test a matched kit by itself. PassMark says modules can pass alone but fail together because of timing, compatibility, or multi-channel problems. Check the memory support list for your motherboard too.
If the PC Will Not Boot After Installing RAM
A blank screen after new RAM does not always mean the kit is dead. Some systems train the memory after a RAM change or BIOS reset. ASUS says this can take several minutes on some computers, so read its memory training note before you force the PC off.
- Wait through the first boot: give the system time to finish memory training.
- Check the board: look for a DRAM light or a beep code. The meaning is different for each board, so use its manual.
- Reseat the memory: make sure each stick is fully locked in place.
- Try one stick: use the slot the manual names for one-module use.
- Swap sticks: if one boots and the other does not in the same slot, the failed stick is the likely cause.
- Reset memory settings: clear the CMOS or load BIOS defaults by following the motherboard manual.
Our guide to the DRAM light explains the no-boot checks in more detail. If no stick works in any slot, check CPU seating, socket pins, board support, and the motherboard memory list. PassMark also lists the CPU and motherboard as possible causes of memory test errors.
When to Replace the RAM
Keep it: the sticks pass at default settings, the PC is stable, and the only problem is a faster profile that you can lower or turn off.
Replace a stick: the same module gives repeatable errors at default settings in a known-good slot after you reseat it.
Do not blame the stick yet: a known-good module fails only in one slot or channel. That points to the motherboard, CPU socket, or CPU memory controller.
Before buying: check the RAM warranty and the motherboard memory support list. Use a matched kit listed by the board maker when one is available.
Related Posts
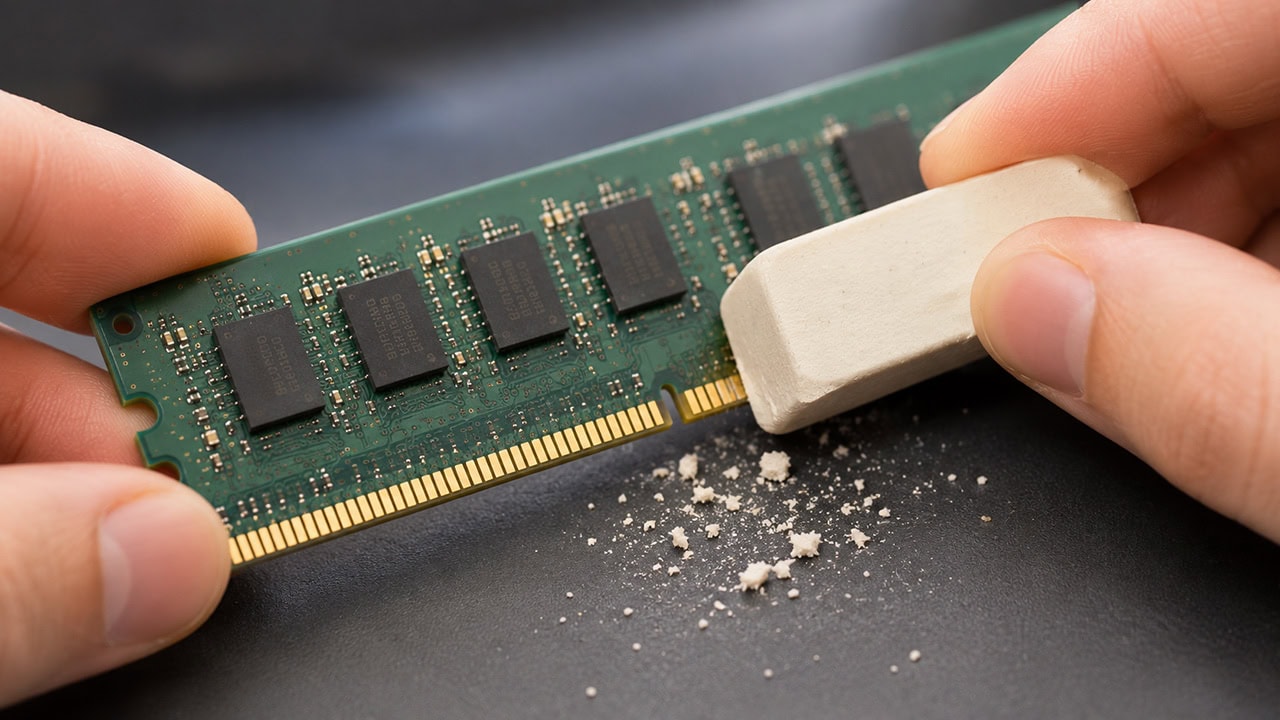
How to Clean RAM Contacts
Safe steps to clean RAM contacts, clear the slots, and reseat each module.
How to Check If a CPU Is Working Properly
Check startup, heat, load stability, and CPU faults that can look like bad RAM.
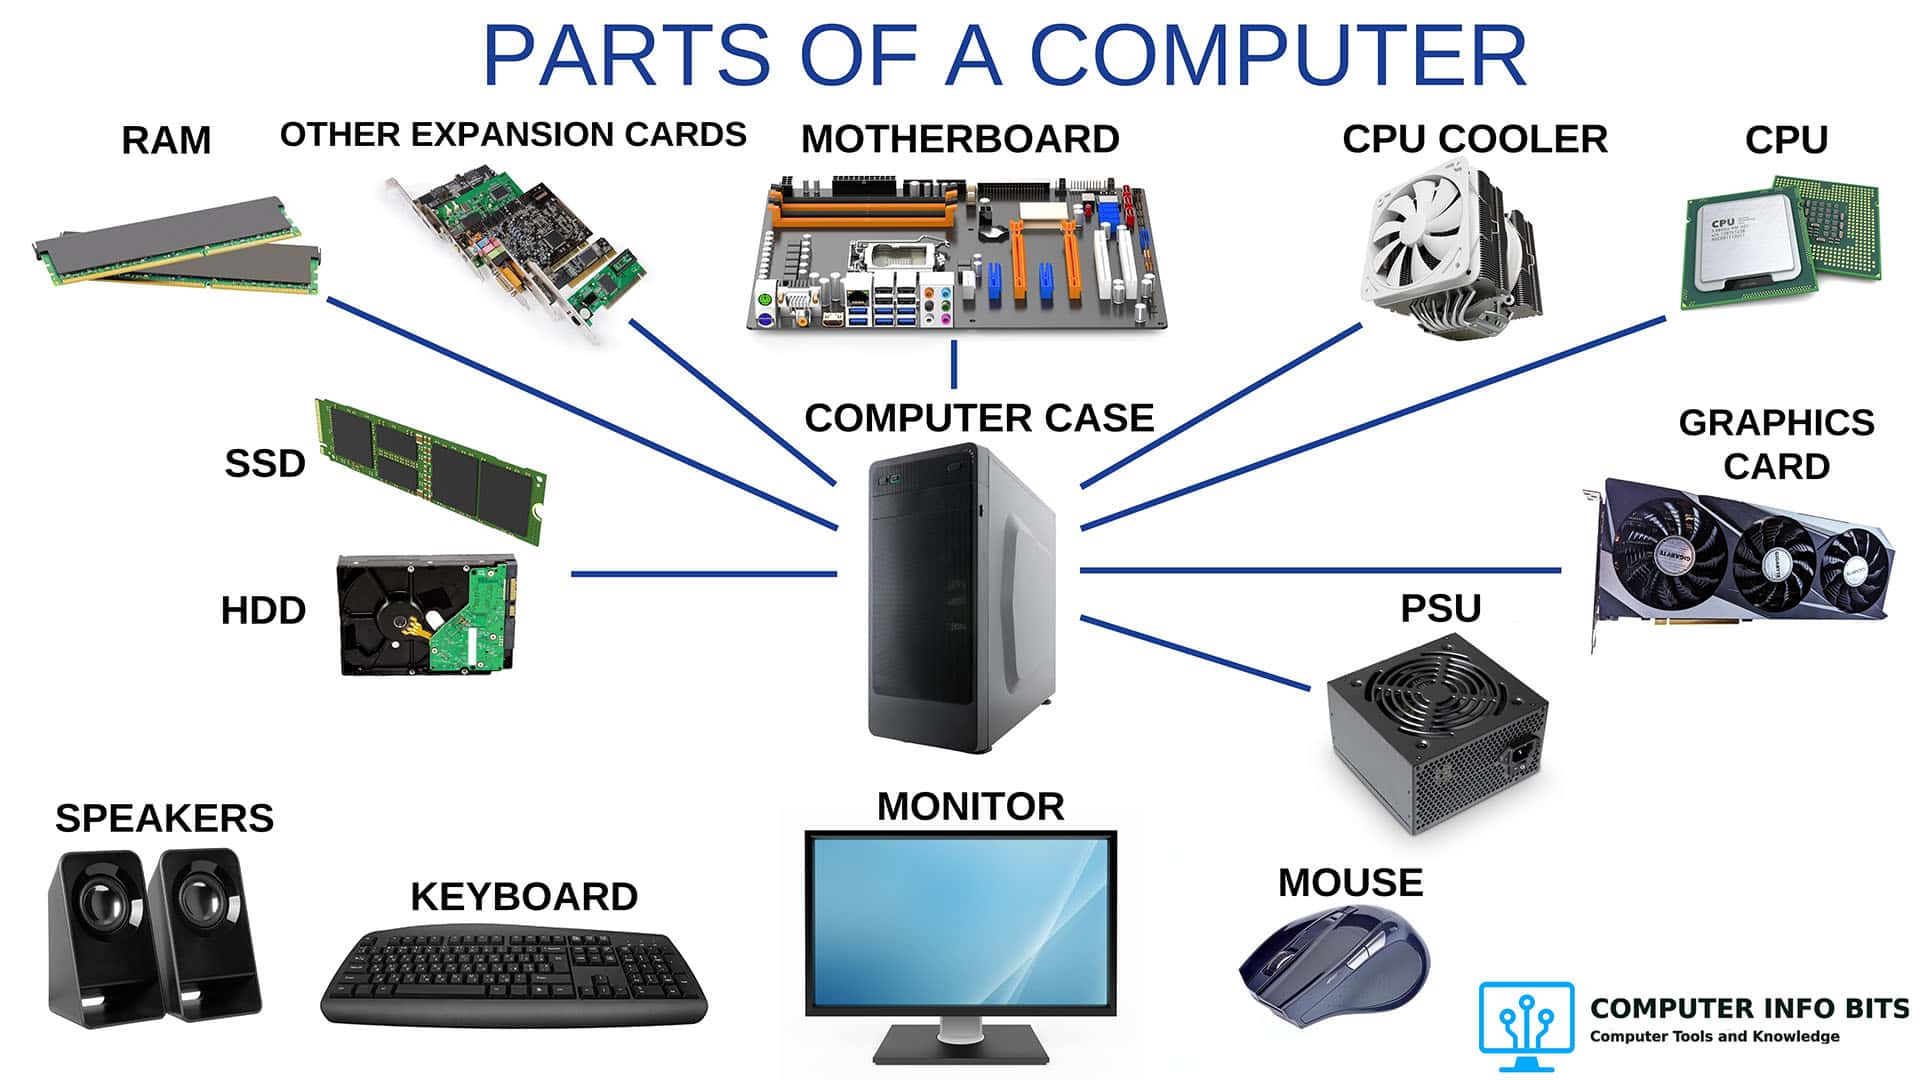
Parts of a Computer and Their Functions
Learn what the CPU, RAM, graphics card, storage, and power supply do.