Fractal North Fan Setup: What to Add to the Two Stock Fans
By Marlo Strydom · Last updated



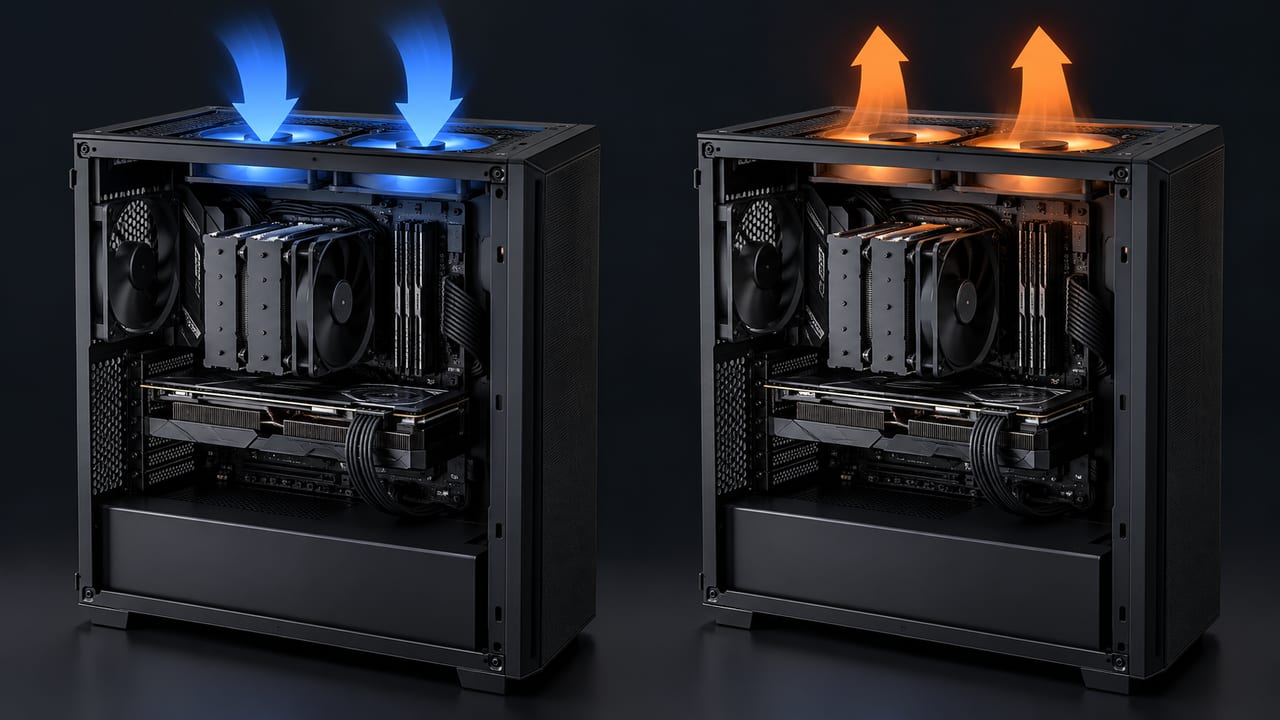
Fractal ships the North with two 140 mm fans, both blowing in at the front, and no exhaust fan at all. Warm air has to find its own way out through the mesh roof and the vents around the back.
So what should you add, and which way should it blow? We ran the North through our 3D airflow model, and the fans that made the biggest difference weren't on the roof.
The Short Answer
- Front and side fans blow in, and the rear and top fans blow out.
- Start with a 120 mm rear exhaust, since the case ships without one.
- On the Mesh version, add two side intakes next: in our model, air near the graphics card moved 72% faster.
- Two top exhausts mostly help the CPU cooler, with 20% faster air there but just 5% at the graphics card.
- Fit an AIO radiator up front (up to 360 mm) or on top (up to 240 mm).
Where Each Fan Goes
Air should come in at the front and side, cross the graphics card and CPU cooler, then leave through the back and roof. Noctua's airflow guide recommends this front-to-back path for most cases.
| Mount | Fits | In the box | Direction |
|---|---|---|---|
| Front | 3 × 120 mm or 2 × 140 mm | 2 fans | In |
| Top | 2 × 120 mm or 2 × 140 mm | None | Out |
| Rear | 1 × 120 mm | None | Out |
| Side bracket (Mesh only) | 2 × 120 mm or 2 × 140 mm | None | In |
The sizes come from Fractal's manual, which also notes that the side bracket only comes with the mesh side panel. Own the glass-sided North TG? Skip the side rows and start with the top fans.
That bracket is what sets the North apart. The Corsair 4000D Airflow only takes intakes at the front, while the North can also blow air straight at the graphics card, a bit like the side row in the Lian Li O11.
This guide covers the standard North. The North XL is a bigger case with its own fan mounts.
Which Fans to Add First
Each row adds to the one above it, so you can stop wherever your budget runs out. The rear exhaust comes first because the case ships without one, and our model runs below set the order after that.
| Fans | Where they go |
|---|---|
| 2 | As it ships: two front intakes |
| 3 | Add a 120 mm rear exhaust |
| 5 | Mesh version: add two side intakes. Glass version: add two top exhausts. |
| 7 | Mesh version: add the top fans, with the rear one as an exhaust |
The front-most top fan is the one real choice. It can blow out like the rest, or blow in to feed the CPU cooler, which is how Noctua's best North layout used it.
New fans can also make the case quieter. Noctua found that three of its 120 mm fans, two in front and one at the rear, ran 4 to 6 dB(A) quieter than the two stock fans at the same CPU temperature.
What Our 3D Model Showed
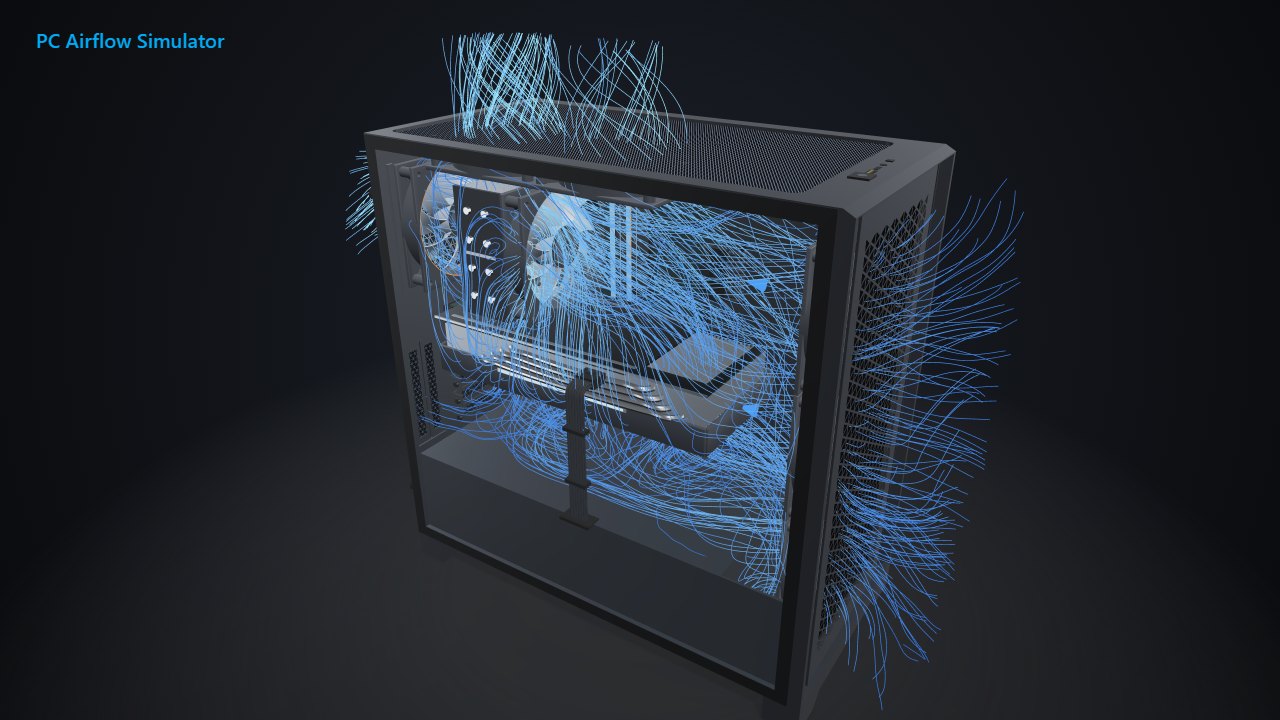
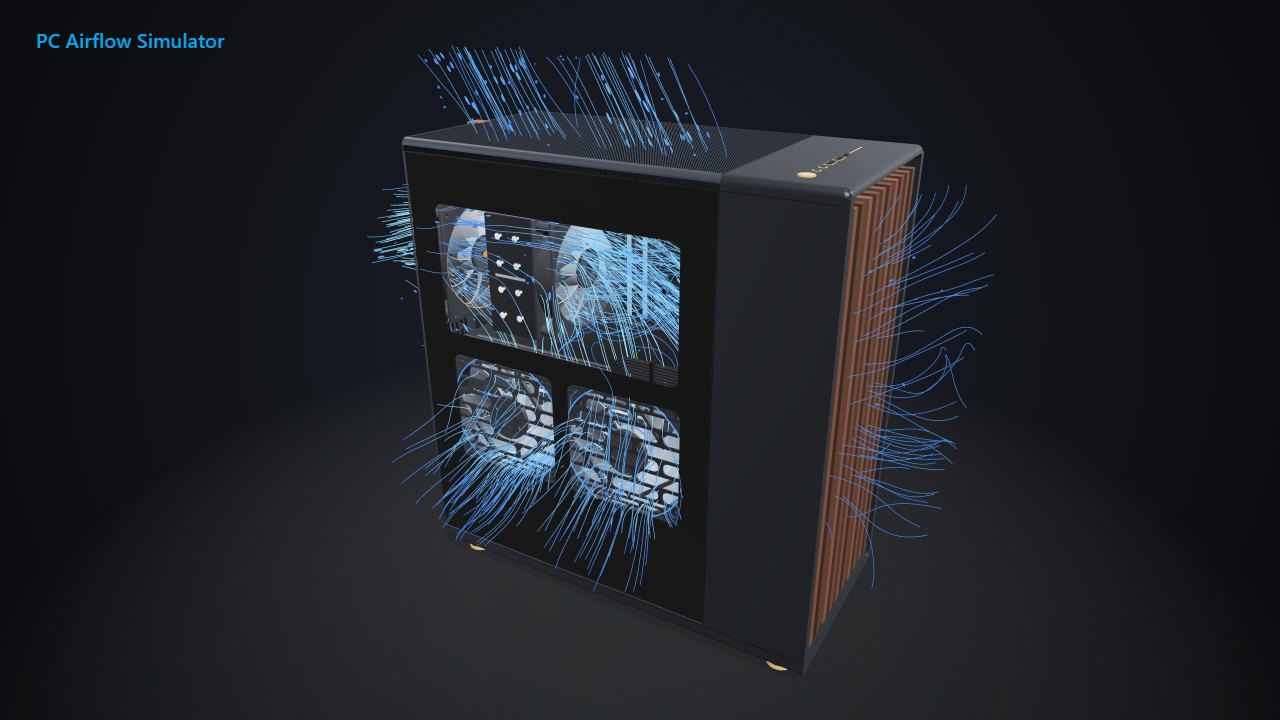
We ran the North in our PC Airflow Simulator, using its Pro model of the North with the mesh side panel. Every fan spun at 1,200 RPM, with a tower CPU cooler and a 315 mm graphics card inside. The table shows how much air the fans moved, how fast it went past each part, and the pressure inside the case.
| Layout | Fans in | Fans out | CPU cooler | Graphics card | Pressure |
|---|---|---|---|---|---|
| 2 front in, 1 rear out | 72 CFM | 37 CFM | 0.81 m/s | 0.61 m/s | +0.3 Pa |
| Add 2 top exhausts | 76 CFM | 150 CFM | 0.98 m/s | 0.64 m/s | −1.1 Pa |
| Add 2 side intakes instead | 149 CFM | 40 CFM | 1.07 m/s | 1.05 m/s | +3.2 Pa |
Every layout here includes the rear exhaust. The stock layout, with nothing blowing out, was still settling after 40 seconds of modeled airflow, so it isn't in the table.
The side fans won by a wide margin. Compared with the rear exhaust alone, air near the graphics card moved 72% faster and air near the CPU cooler 31% faster.
The top exhausts lifted the CPU cooler by 20% but the graphics card by only 5%. They pulled out about twice as much air as the front fans pushed in, so the rest got pulled in through the unfiltered mesh and vents.
Fractal publishes no airflow curve for the stock Aspect fans, so the model runs every fan as a generic one. These are simulated numbers. The model measures moving air, not heat, and it hasn't been checked against a real North, so use it to compare layouts, then check real temperatures in your own build. Want a quick heat check for your parts first? Try our cooling calculator.
Your own parts and fan speeds will shift these numbers, so load your build into the same model to see where it lands.
Are the Side Fans Worth It?
If you have the Mesh version, they're the best upgrade we found. The bracket holds two 120 or 140 mm fans and fits at three heights, and each height trades cooler room for graphics card room:
| Bracket height | Tallest CPU cooler | Widest graphics card |
|---|---|---|
| High | 145 mm | 178 mm |
| Middle | 145 mm | 148 mm in expansion slots 1 to 3, 178 mm in slots 4 to 7 |
| Low | 170 mm | 148 mm |
The limits come from page 28 of Fractal's manual, and the card widths include its power connectors. Our model used the low spot, which aims both fans right at the graphics card.
Plan for more dust, though. Fractal fits filters only at the front and under the power supply, so the side fans pull room air straight in through the mesh. Intel's cooling guide warns that dust buildup blocks airflow, so clean the graphics card's fins more often.
Noctua saw mixed results here. Its North tests found a clear best layout in the glass version, but no clear winner in the mesh version. Treat our side fan result as a strong lead, then confirm it with your own temperatures.
The Top Fan That Can Blow In
Noctua tested 11 fan layouts in the North. The best one used three 120 mm front intakes, a rear exhaust, a rear top exhaust, and a front top intake. At the same CPU temperature, it ran 9 to 13 dB(A) quieter than the stock fans.
That front top intake drops fresh air right onto the CPU cooler. Noctua says to fit a spacer under it, because a bar across the roof sits over that mount and stirs up the incoming air. Like the side fans, it has no filter, so it brings in more dust.
Our model ran both top fans as exhausts. To see when a roof intake helps and when it hurts, read our top fan direction test.
Where an AIO Radiator Fits Best
| Radiator spot | Sizes Fractal lists |
|---|---|
| Front | 120, 140, 240, 280 or 360 mm |
| Top | 120 or 240 mm |
| Rear | 120 mm |
A 360 mm radiator up front cuts the longest graphics card you can fit from 355 to 300 mm, according to Fractal. Check your card's length before you buy one.
Noctua suggests a front radiator with intake fans for the lowest CPU temperatures, or a top radiator with exhaust fans for the lowest graphics card temperatures. With a front radiator, add the rear and top exhausts so its warm air has a way out.
Test the Layout Before You Buy Fans
Each link opens our North model with that layout loaded, free. Swap in your own parts, then run it with PC Airflow Simulator Pro:
- The two stock fans
- Two front intakes with a rear exhaust
- Front intakes with rear and top exhausts
- Front and side intakes with a rear exhaust
The stock Aspect 14 fans are 4-pin PWM fans that top out at 1,700 RPM, so set their motherboard headers to PWM mode. Then use our fan curve calculator to pick how fast they speed up as your PC warms.
After the build, make one fan change at a time and play the same game before and after. Log CPU and graphics card temperatures with HWiNFO or our free PC Reporter. The PC airflow guide covers the basics that apply to any case.
Related Posts