Corsair 4000D Airflow Fan Setup: Which Fans to Add First
By Marlo Strydom · Last updated



Corsair built the 4000D Airflow around a perforated steel front made to breathe, then filled only two of its six fan mounts. One fan pulls air in at the front, one pushes it out the back, and the rest is up to you.
So which fans are worth buying, and which way should they blow? Here is the answer, built from Corsair's specs, Gamers Nexus's tests, and our own runs in a 3D model of the case.
The Short Answer
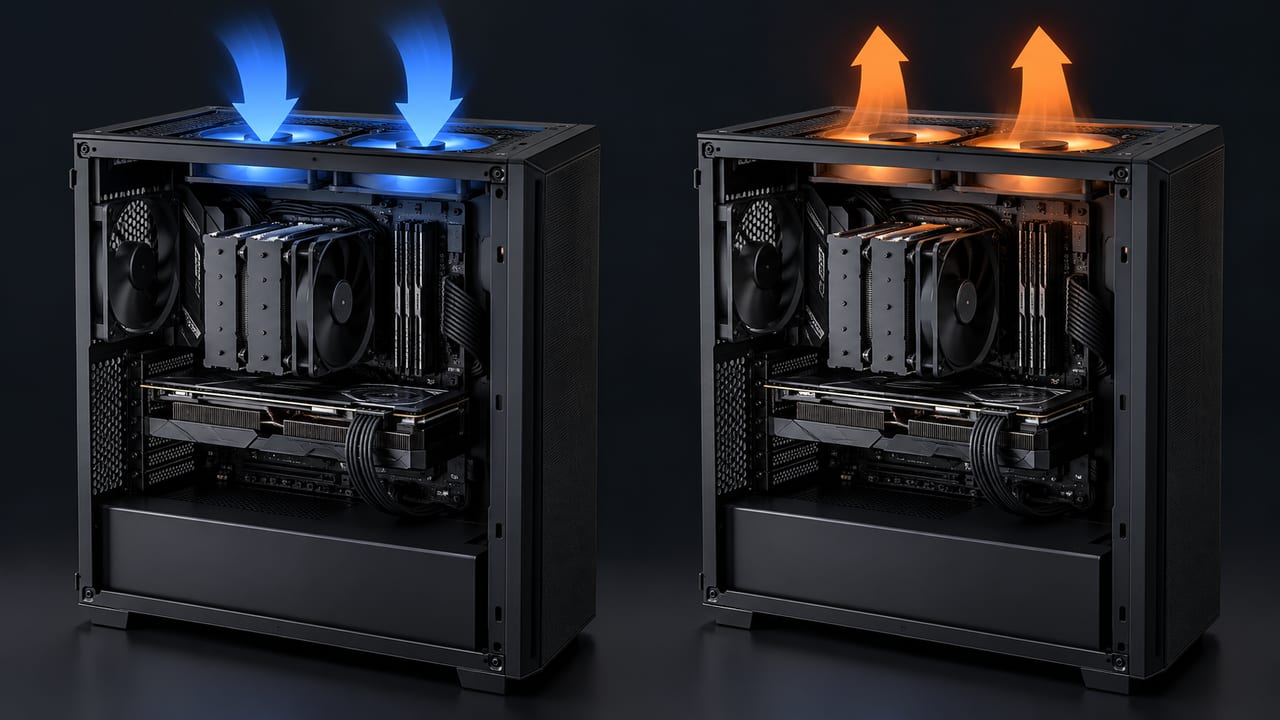
- Front fans blow in, and the rear and top fans blow out.
- Fill the two empty front mounts first: in our model, that nearly tripled the air coming in.
- Add two top exhausts next for about 15% faster air at both the CPU cooler and the graphics card.
- Keep the front filter in and clean it: it held back 39% of the incoming air in our model, but it keeps dust off your parts.
- Put an AIO radiator on top, and keep it to 280 mm.
Where Each Fan Goes
Air should take one path: in through the front panel, past the graphics card and CPU cooler, and out the back and roof. Noctua's airflow guide recommends that front-to-back path, with front intakes and rear and top exhausts.
| Mount | Fits | In the box | Direction |
|---|---|---|---|
| Front | 3 × 120 mm or 2 × 140 mm | 1 fan | In |
| Top | 2 × 120 mm or 2 × 140 mm | None | Out |
| Rear | 1 × 120 mm | 1 fan | Out |
The sizes come from Corsair's product page. The case has no bottom or side mounts, so the front is the only place for intake fans, unlike the NZXT H5 Flow with its two floor mounts or the Lian Li O11 with its side and bottom rows.
The same plan works in the 4000D RGB Airflow and the glass-front 4000X RGB. Corsair says every 4000 Series case has the same size and the same fan mounts.
The newer FRAME 4000D is a different case. Corsair's comparison shows it adds side fan mounts and room for two 200 mm front fans, so this plan doesn't carry over to it.
Which Fans to Add First
Fill the front before the roof. This order follows Noctua's fan placement table, and each row adds one fan, so you can stop wherever your budget runs out.
| Fans | Where they go |
|---|---|
| 2 | As it ships: middle front intake, rear exhaust |
| 3 | Add a front intake |
| 4 | Fill the third front mount |
| 5 | Add a top exhaust in the mount nearest the back |
| 6 | Add the front top fan, as an intake for a tower cooler or as a second exhaust |
That last fan is the only one with a real choice. Noctua makes it an intake to feed a tower cooler, while our model runs below used it as a second exhaust. Our top fan direction test explains when that intake helps, and why the rear top fan should stay an exhaust.
Two 140 mm fans can replace the three 120s up front. Gamers Nexus found the front brackets bend easily, so spin each fan by hand before you power on to make sure no blade rubs.
What Our 3D Model Showed
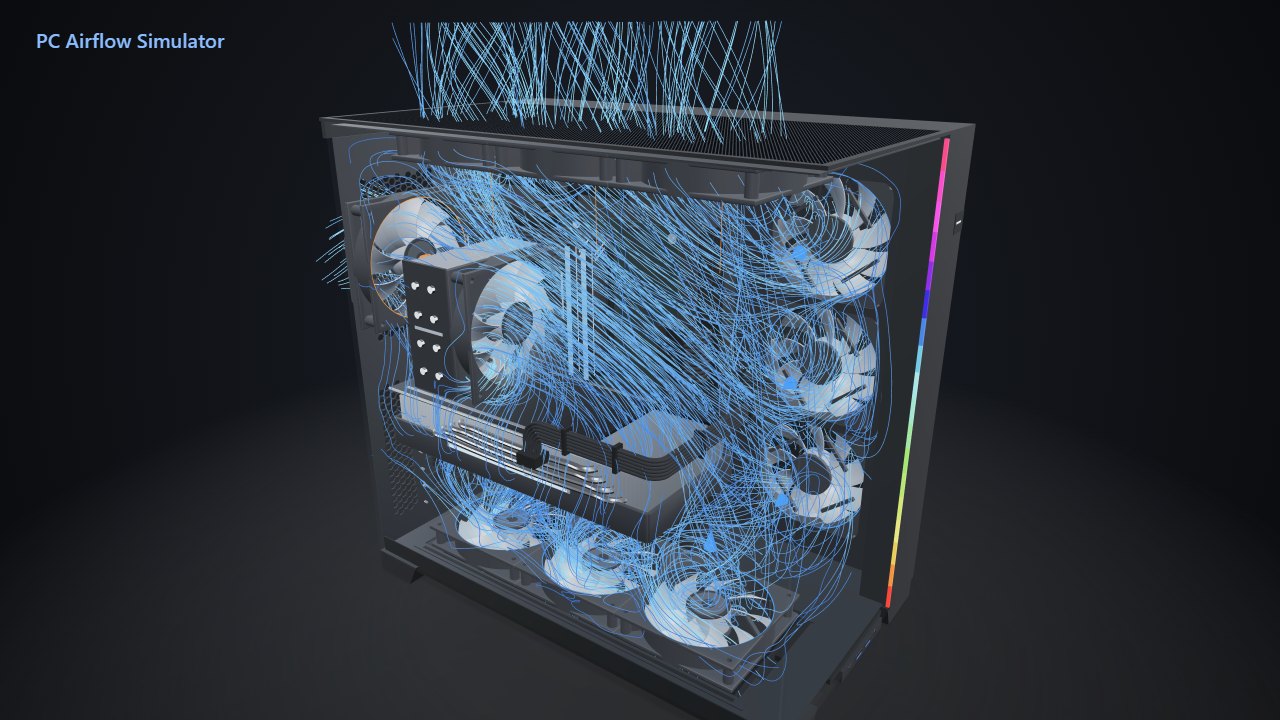
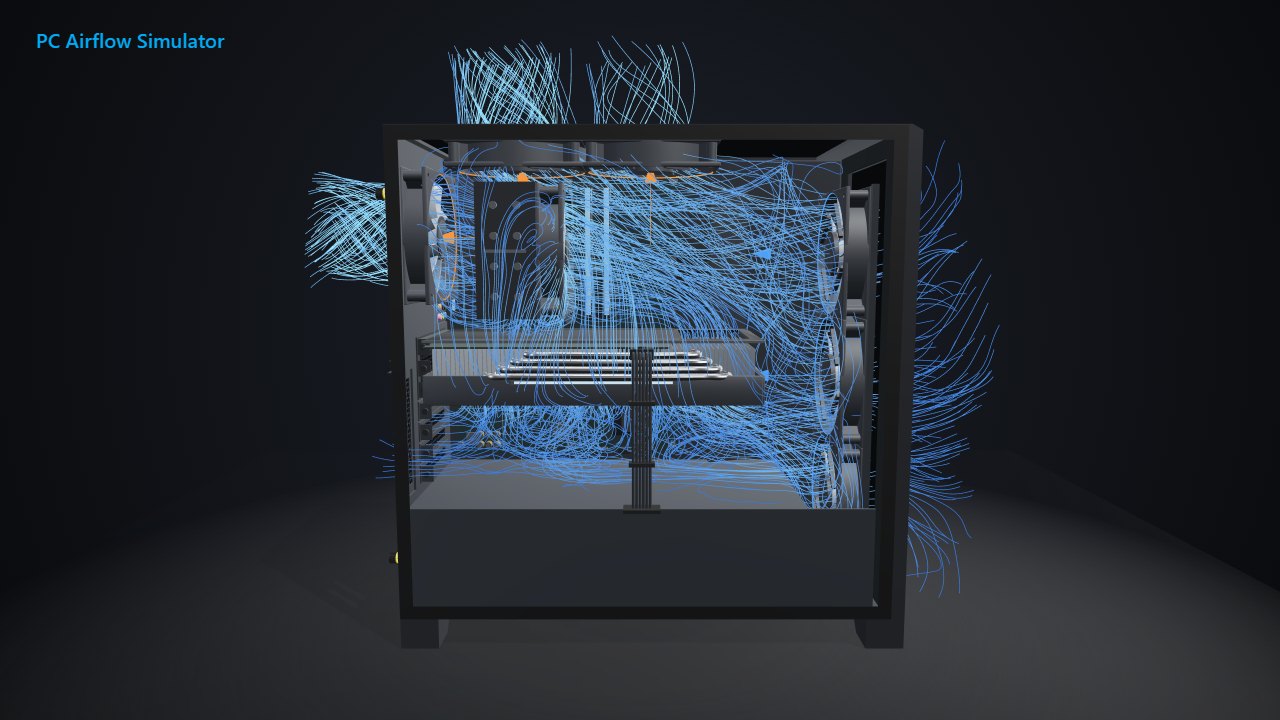
We ran four layouts in our PC Airflow Simulator, using its Pro model of the 4000D Airflow. Every fan spun at 1,200 RPM, with a tower CPU cooler and a 315 mm graphics card inside. The table shows how much air came in, how fast it moved near each part, and the pressure inside the case.
| Layout | Air in | CPU cooler | Graphics card | Pressure |
|---|---|---|---|---|
| As it ships: 1 front in, 1 rear out | 21 CFM | 0.73 m/s | 0.56 m/s | −0.3 Pa |
| 3 front in, 1 rear out | 58 CFM | 0.82 m/s | 0.59 m/s | +0.9 Pa |
| Add 2 top exhausts | 74 CFM | 0.94 m/s | 0.67 m/s | −3.8 Pa |
The two extra front fans nearly tripled the air coming in, from 21 to 58 CFM, and tipped the case from slightly negative to slightly positive pressure. Air near the CPU cooler sped up by 12%, but the graphics card gained only 4%.
The top exhausts gave both parts a bigger lift: air near the CPU cooler moved 15% faster, and near the graphics card 14% faster. They also pulled out more air than the front fans pushed in, so the case went from slightly positive to negative pressure.
The stock layout was slow to settle, so we gave it 20 seconds of modeled airflow instead of 12. These are simulated numbers. The model measures moving air, not heat, and its accuracy against a real 4000D hasn't been checked, so use it to compare layouts, then check real temperatures in your own build.
Your own graphics card, cooler and fan speeds will shift these numbers, so run your parts in the same model to see where your build lands.
Should You Take Out the Front Filter?
Gamers Nexus pulled off the steel front panel but left the filter in place, and temperatures barely moved. So we tested the fine filter behind that panel instead.
With three front intakes and a rear exhaust, taking the filter out raised the air coming in from 58 to 95 CFM. Air near the graphics card moved 24% faster, and near the CPU cooler 12% faster.
That extra air brings dust with it. Intel's cooling guide notes that intake fans pull dust in, and filters catch it before it reaches your parts.
Our advice: keep the filter in and clean it whenever you see dust on it. If yours is torn or lost, Corsair makes replacement filters for the front, top and power supply.
Watch the balance when you add top fans, too. Noctua says negative pressure pulls dust in through gaps and unfiltered panels, so run the top fans a little slower than the front fans to keep more air coming in than going out.
Where an AIO Radiator Fits Best
| Radiator spot | Sizes Corsair lists | Watch out for |
|---|---|---|
| Top | Up to 280 mm | Tall RAM and the CPU power cable |
| Front | 360, 280 or 240 mm | Tight room beside the shroud |
| Rear | 120 mm | It takes the rear exhaust fan's spot |
In its review, Gamers Nexus called a single 280 mm radiator on top the largest AIO the case can truly support. The top mounts overlap the motherboard, and Corsair says a 280 mm radiator there needs low-profile RAM. Check where your CPU power cable plugs in, too.
The same review advised against front radiators. The radiator and its fans get 6 cm at most down by the shroud, and the front ports take up room that a 280 or 360 mm AIO needs with its tubes at the bottom. Corsair adds that a front radiator limits graphics cards to 340 mm.
With a top radiator blowing out, keep all three front fans as intakes so it gets fresh air.
Test the Layout Before You Buy Fans
PC Airflow Simulator Pro opens our 4000D Airflow model with any of these layouts loaded, so you can swap in your own parts:
- The two stock fans
- Three front intakes with a rear exhaust
- Three front intakes with rear and top exhausts
- Three front intakes with the front filter out
The stock AirGuide fans are 3-pin DC fans, so set their headers to DC or voltage mode if they won't slow down. Then use our fan curve calculator to choose how fast they ramp up.
Once it's built, change one fan at a time and run the same game before and after. Compare CPU and graphics card temperatures in HWiNFO or our free PC Reporter. For the basics behind any case, see our PC airflow guide.
Related Posts