How to Set Up Auto Login on Windows 11
By Marlo Strydom · Last updated
To set up auto login on Windows 11, you only need a few minutes and one of three reliable methods, depending on how your account is set up and how comfortable you are with Windows settings. If you are the only person who uses your PC and it lives somewhere safe, typing a password every time it starts gets old fast. Auto login tells Windows to skip the sign-in screen and go straight to the desktop.
The quickest method is the User Accounts panel: press Windows + R, type netplwiz, press Enter, select your account, and uncheck "Users must enter a user name and password to use this computer." If that checkbox is missing, turn off the Windows Hello-only setting first (covered below), or use Microsoft's free Autologon tool, which is the safest option.
Read this first: auto login removes the one barrier between a powered-on PC and everything on it. Anyone who switches the machine on lands in your account with full access to your files, email, browser, and saved passwords. Only set this up on a desktop in a physically secure place, like a home office. Do not use it on a laptop, a shared family PC, or any work machine. If the device holds anything sensitive, leave the sign-in screen on.
Before You Start
Two quick things make the rest of this easier. First, know which kind of account you have: a Microsoft account (you sign in with an email address) or a local account (username only, no email). The steps are the same, but Microsoft accounts on Windows 11 sometimes hide the netplwiz checkbox, which has a simple fix. Second, make sure you actually know your password, since every method asks you to confirm it. If you only ever use a Windows Hello PIN, look up your full account password before you begin.
Method 1: The User Accounts Panel (netplwiz)
This is the built-in way and the right starting point for most people. Nothing to download.
- Open the panel: press
Windows + R, typenetplwiz, and press Enter. - Select your account in the list of users at the top.
- Uncheck the box labelled "Users must enter a user name and password to use this computer," then click Apply.
- Confirm your password: a small window asks you to type your password twice so Windows can sign you in for you. Enter it and click OK.
- Restart to test. The PC should now go straight to the desktop.
If the checkbox is missing
On Windows 11, that checkbox is often hidden when you use a Microsoft account with Windows Hello. To bring it back:
- Open Settings > Accounts > Sign-in options.
- Find "For improved security, only allow Windows Hello sign-in for Microsoft accounts on this device" and switch it Off.
- Sign out and back in, then reopen
netplwiz. The checkbox will be there.
Method 2: Microsoft Autologon (Safest and Most Reliable)
Autologon is a small, free, official Microsoft tool from the Sysinternals suite. It is the method I recommend when netplwiz is being stubborn, because it stores your password in an encrypted form rather than in plain text, and it sets everything up correctly in one click.
- Download it from the official Microsoft Sysinternals page (search "Microsoft Autologon"), then unzip and run the program. There is no installer.
- Accept the licence the first time it runs.
- Fill in three boxes: your Username, the Domain (for a home PC this is your computer's name, which Autologon usually fills in for you), and your account Password.
- Click Enable. Autologon confirms it has turned on and encrypts the password into the registry for you.
- Restart to test. To turn it off later, run Autologon again and click Disable.
Method 3: The Registry (Advanced)
This is the manual version of what Autologon does, and it is worth knowing for tricky setups. The catch is that it writes your password into the registry in plain text, so only use it on a secure machine and prefer Autologon if you can.
Careful in here: editing the registry wrongly can cause problems elsewhere in Windows. Change only the values listed below, and consider backing up the key first (in Registry Editor, right-click the Winlogon key and choose Export).
- Open Registry Editor: press
Windows + R, typeregedit, and press Enter. - Go to this key:
HKEY_LOCAL_MACHINE\SOFTWARE\Microsoft\Windows NT\CurrentVersion\Winlogon - Set the username: find or create a String value named
DefaultUserNameand set it to your account name (for a Microsoft account, this is the email address). - Set the password: create a String value named
DefaultPasswordand set it to your password. - Turn it on: find or create a String value named
AutoAdminLogonand set it to1. - Restart to test. To undo it, set
AutoAdminLogonback to0and delete theDefaultPasswordvalue.
It depends what you mean by safe. Auto login only removes the sign-in prompt; it does not touch features like BitLocker drive encryption, which still protects your files if someone removes the drive and plugs it into another computer. What auto login does remove is the barrier against someone sitting down at your running PC. So a desktop in a locked home office with auto login is a reasonable trade-off, because the physical security does the job the password used to. A laptop that travels with you is the opposite situation: lose it, and whoever finds it is one power button away from everything inside. That is why the safe rule of thumb is auto login for fixed, secure machines only, and a real sign-in everywhere else.
Stop the Password Prompt After Sleep
Auto login only covers a full startup. By default Windows still asks for your password when it wakes from sleep, which catches a lot of people out after they set this up. To skip that prompt too:
- Open Settings > Accounts > Sign-in options.
- Find "If you've been away, when should Windows require you to sign in again?"
- Change it to Never.
If you also use a screen saver, open its settings and make sure "On resume, display logon screen" is unticked. With both of those done, the PC stays signed in whether it cold-boots or wakes from sleep.
Which Method Should You Use?
| Method | Best for | Password stored as | Difficulty |
|---|---|---|---|
| netplwiz | Most people, first thing to try | Encrypted | Easy |
| Autologon | When netplwiz hides the checkbox | Encrypted | Easy |
| Registry | Advanced users, unusual setups | Plain text | Moderate |
How to Turn Auto Login Back Off
Changed your mind, or moving the PC somewhere less private? Reversing it is quick. If you used netplwiz, reopen it and re-check the "Users must enter a user name and password" box. If you used Autologon, run it again and click Disable. If you edited the registry, set AutoAdminLogon to 0 and delete the DefaultPassword value. Any one of these brings the normal sign-in screen straight back.
Related Posts

Understanding the BIOS and Its Main Functions
What happens at startup before Windows loads and hands you the sign-in screen: POST, the boot loader, Secure Boot, and UEFI.

Why Do Computers Slow Down With Age?
Startup programs, drive clutter, and dust all pile up over time. The real causes of a slow PC and how to fix them.
How to Check If a CPU Is Working Properly
Boot checks, Task Manager, temperatures, and stress tests to confirm your processor is healthy.
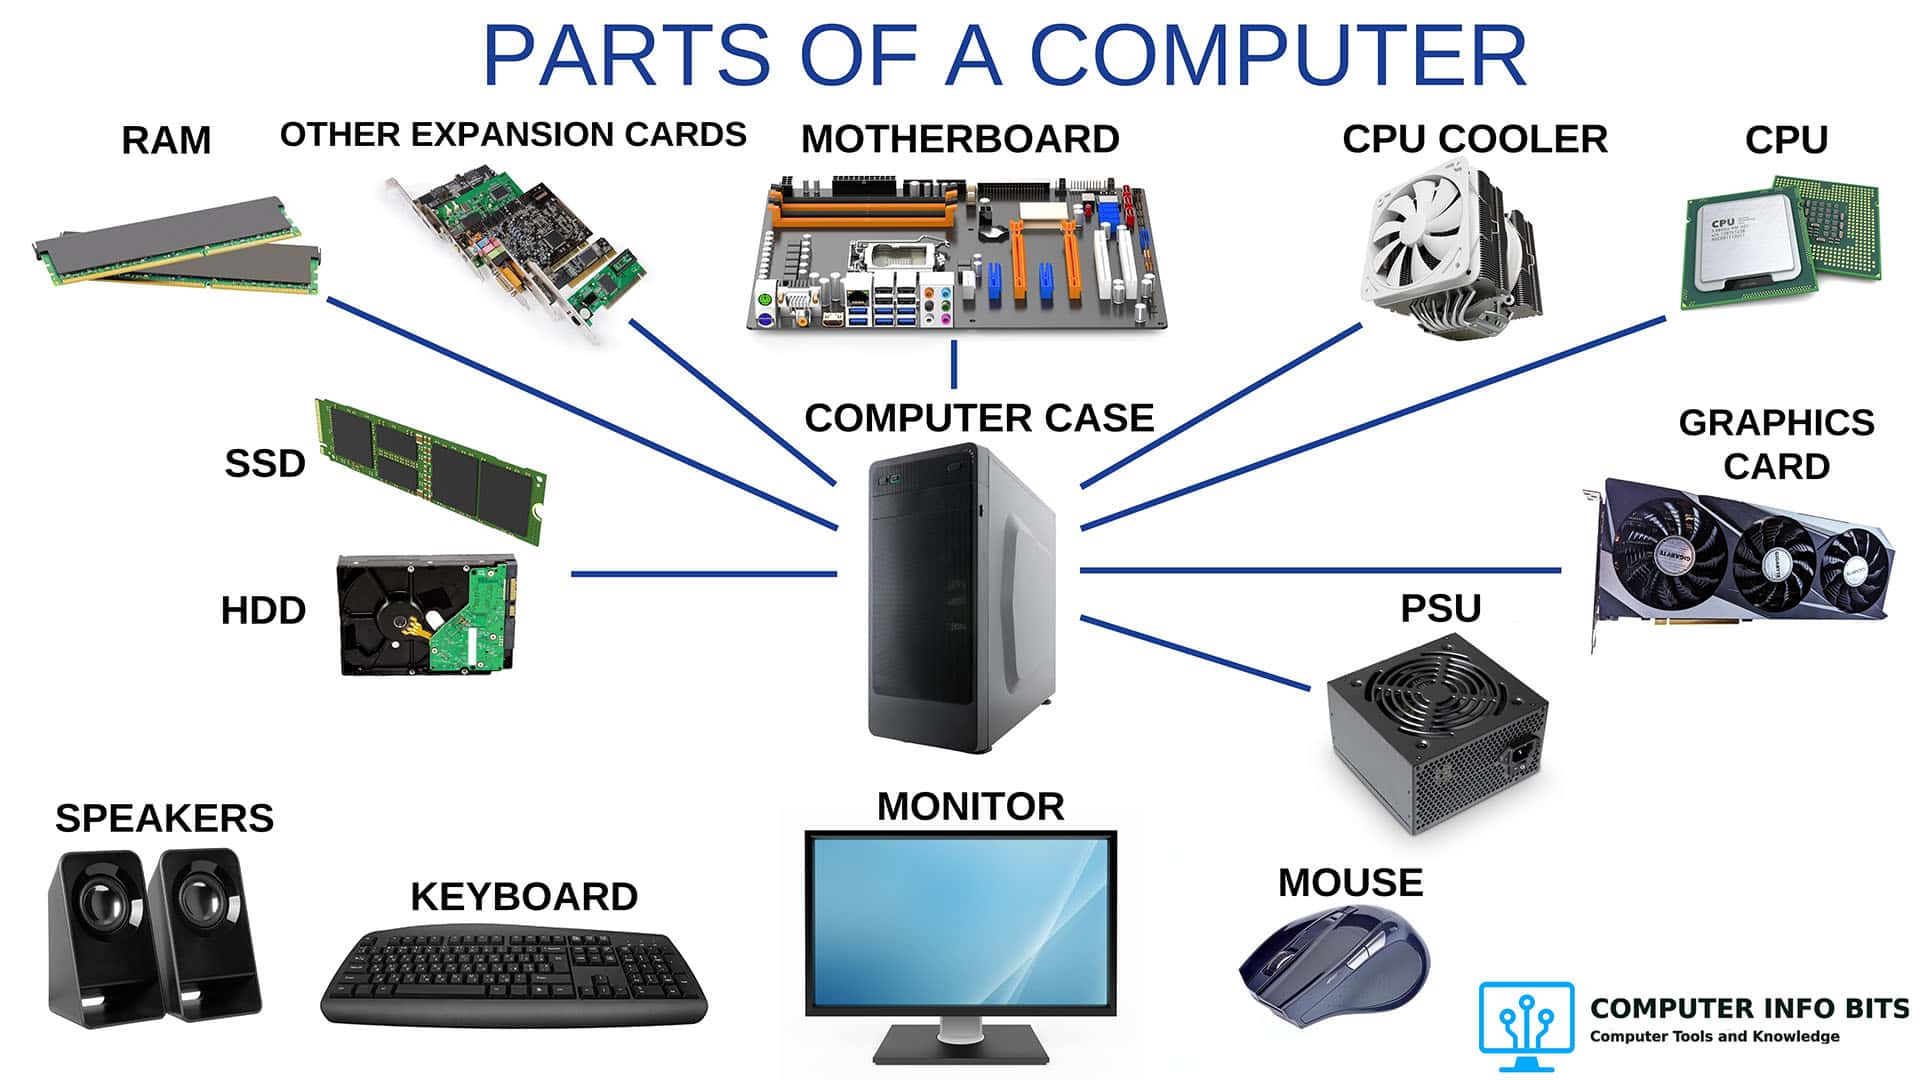
Parts of a Computer and Their Functions
A plain-language breakdown of every major PC component and the job each one does.