Gaming PC Won't Connect to TV: Quick Checks and Fixes
By Marlo Strydom · Last updated
When a gaming PC won't connect to a TV, the cause is almost always one of four things: a bad cable, the wrong TV input, the wrong Windows display setting, or an old graphics driver.
Working through them in that order is the fastest way to get a picture on the screen. The checks below go from easy to advanced, so you can stop at the first one that fixes the problem.
Check the Cable and the Ports First
Software fixes will not help if the physical link is bad. Start here.
- Try a different cable. HDMI and DisplayPort cables can fail with no visible damage. Swap in a known-good cable to rule this out.
- Use a shorter cable. Very long cables lose signal strength. A shorter cable often fixes a flickering or dropping picture.
- Plug into the graphics card, not the motherboard. On a desktop with a graphics card, the card has its own ports near the bottom of the back panel. Plugging into the motherboard sends the signal through weaker integrated graphics, or no signal at all if the BIOS is set that way.
- Try a different HDMI port on the TV. TVs usually have several HDMI inputs, and one can fail while the others work fine.
- Look for bent pins. Check the cable ends and the ports. A single bent pin can block a connection. DisplayPort plugs are easy to bend if pulled out at an angle.
- Match the cable to the resolution. For 4K at 120Hz you need an HDMI 2.1 Ultra High Speed cable. An older HDMI 1.4 cable will not carry that signal, and the TV may show nothing rather than drop to a lower mode.
Make Sure the TV Is on the Right Input
This one sounds obvious, but it catches a lot of people. TVs do not always switch to the active input on their own, especially older models.
- Cycle through the inputs with the TV remote. Match the number on the screen to the port your cable is in, like HDMI 1, HDMI 2, and so on.
- Rename the input if your TV allows it. Some TVs treat an input labeled "PC" or "Game" differently from one labeled for a streaming box, which can change how the signal is processed.
- Turn off HDMI-CEC for a quick test. CEC lets HDMI devices control each other, but it can sometimes block a PC connection. Disabling it in the TV menu is harmless and tells you fast if it is the cause.
Adjust the Windows Display Settings
If the cable and input are fine, the next place to check is how Windows is sending the signal.
Windows + P Projection Modes
Press Windows + P to open the projection menu. You will see four choices:
- PC Screen Only: The signal goes only to your main monitor. The TV will not get a picture in this mode.
- Duplicate: Both screens show the same thing. A good starting choice to confirm the TV is working.
- Extend: The TV becomes a second screen. You may need to drag windows onto it.
- Second Screen Only: All output goes to the TV and your main monitor goes dark.
If you cannot see anything on either screen, press Windows + P, tap the down arrow key a few times, then press Enter. You can cycle through the modes blind until a picture appears.
Resolution and Refresh Rate
Once a mode is selected, the TV may still go black if the resolution or refresh rate is too high for it to handle. Right-click the desktop and pick Display Settings, then:
- Select the TV from the display list. It may show as a number or as the TV brand name.
- Drop the resolution to 1920 x 1080 as a starting point. Raise it again once you see a picture.
- Open Advanced Display Settings and use the Monitor Refresh Rate Calculator to check a 60Hz setting. Many TVs do not accept higher than that on every input.
Keep in mind: If you set a resolution the TV cannot show, the screen will go black for 15 seconds and then Windows puts the old setting back on its own. Just wait it out if it happens.
Update Graphics Drivers
Old or broken graphics drivers are a common cause of display problems, especially right after a Windows update or when using a TV for the first time.
- NVIDIA cards: Open GeForce Experience or visit the NVIDIA driver page for the latest Game Ready driver.
- AMD cards: Open AMD Software: Adrenalin Edition or visit the AMD drivers page.
- Intel graphics: Use the Intel Driver and Support Assistant to check for an update.
If a normal update does not help, run a clean install. Both NVIDIA and AMD installers include a "Clean install" checkbox that removes old driver files first. This clears out settings that may be blocking the connection.
TV Settings That Can Block a PC Signal
Modern TVs have their own image-processing features that can get in the way of a PC signal. Adjusting these often fixes problems nothing else solves.
- Turn on HDMI UHD Color (also called "Input Signal Plus" or "Enhanced Format"). Many TVs ship with this OFF, which limits the HDMI port to a lower bandwidth. Turn it on for the port your PC uses.
- Turn off motion smoothing. Features like "Auto Motion Plus" add input lag and can cause signal issues with PC sources.
- Switch to Game Mode. Most TVs have a Game Mode that turns off extra processing and accepts signals more reliably. It is the best mode for PC use.
- Update the TV firmware. TV makers push fixes for HDMI bugs. Look for a software update option in the TV's settings menu or on the maker's support page.
Using an Adapter or Converter
If your PC does not have an HDMI port, or the HDMI version on the PC does not match what the TV needs, you may need an adapter.
- DisplayPort to HDMI: Use an active adapter if you need HDMI 2.1 features like 4K at 120Hz. Passive adapters cap out at HDMI 2.0 speeds.
- USB-C to HDMI: Only works if the USB-C port supports video output (DisplayPort Alt Mode). Not all USB-C ports do.
- DVI to HDMI: Carries video but not sound, so you will need a separate audio cable.
- VGA to HDMI: Needs an active converter because VGA is analog and HDMI is digital. Picture quality will drop. Use this only as a last resort.
Keep in mind: Cheap or no-name adapters are a common cause of connection failures. If an adapter is in your setup and nothing else has helped, try a known-good branded adapter before assuming the PC or TV is at fault.
Still Not Working? Advanced Checks
If you have worked through the steps above and the TV is still black, a few deeper checks can help.
Test With a Different Display
Plug the PC into another TV or a monitor. If it works there, the problem is the original TV's settings or compatibility. If it does not work on anything, the problem is with the PC itself, most likely the graphics card or its output port. The next step is to check if the GPU is working properly.
Check the BIOS Display Output
Some motherboards default to integrated graphics instead of the dedicated card. Open the BIOS setup screen and look for a setting called "Initial Display Output" or "Primary Graphics Adapter." Set it to your dedicated graphics card's slot, usually labeled PCIe.
Factory Reset the TV
If the TV used to work with a PC and stopped, a factory reset clears any changed settings. This is a last resort because you will need to set up the TV's other preferences again afterward.
Symptom-to-Fix Table
A quick lookup if you want to jump straight to the right section based on what you are seeing.
| Symptom | Most Likely Cause | First Fix to Try |
|---|---|---|
| Black screen, "no signal" message | Wrong input or faulty cable | Switch TV input and try a different cable |
| Signal detected but no picture | Unsupported resolution or refresh rate | Press Windows + P and pick Duplicate |
| Picture flickers or drops out | Cable bandwidth issue or loose plug | Use a certified high-speed HDMI cable |
| Picture shows but no audio | Audio output set to the wrong device | Right-click the sound icon and set the TV as output |
| Works on a monitor but not the TV | TV HDMI enhanced mode is off | Turn on HDMI UHD Color in the TV settings |
| Low resolution or cropped picture | TV scaling settings or GPU output config | Turn on Game Mode and adjust GPU scaling |
Most TV connection problems come down to a bad cable, the wrong input, or a display setting Windows is sending the wrong way. Working through the steps in order usually gets a picture back in a few minutes. If everything above has been tried and the TV still shows nothing, it is worth having the GPU or the HDMI port inspected for hardware damage.



Related Posts
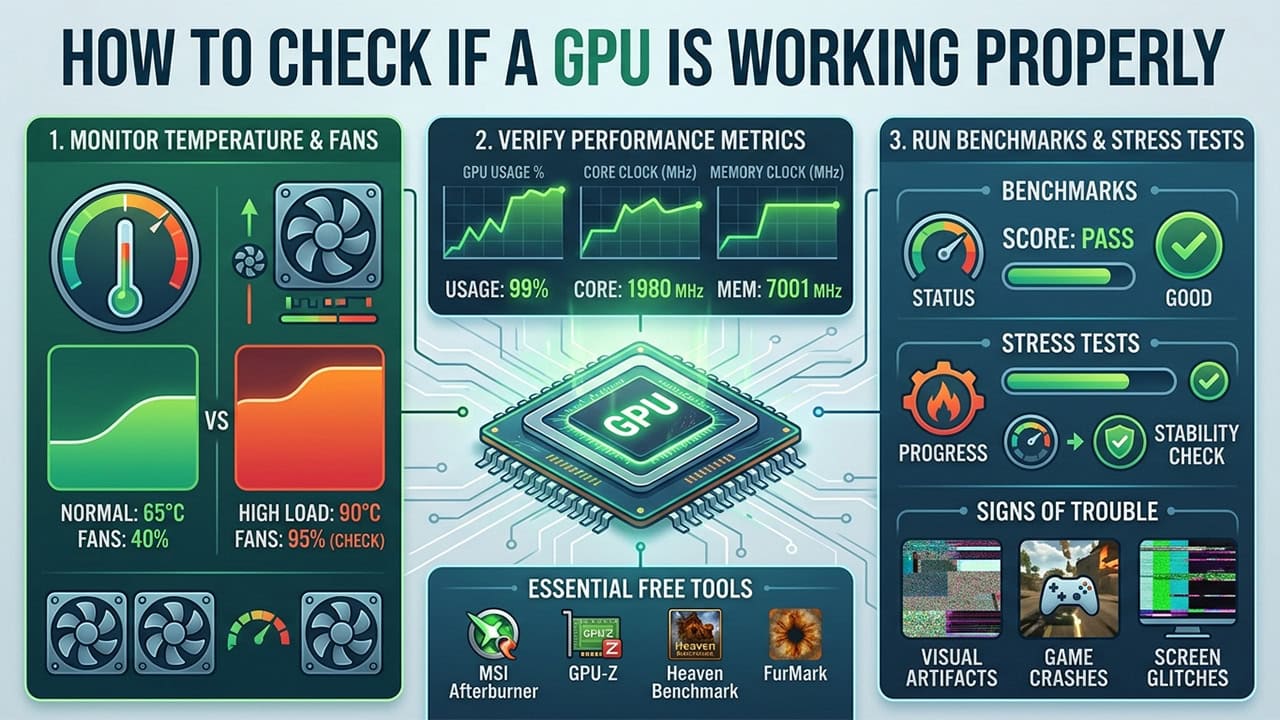
How to Check If a GPU Is Working Properly
Test the graphics card with Task Manager and MSI Afterburner, the next step if the PC will not display on any screen.
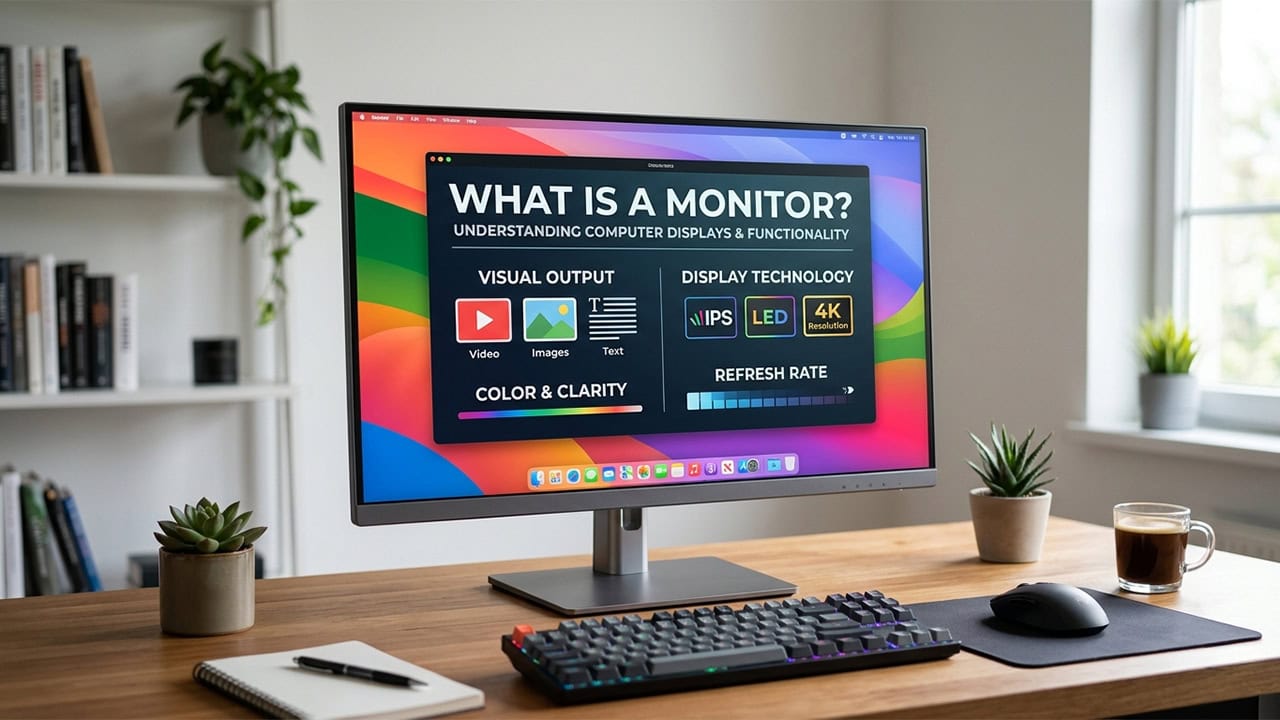
What Is a Monitor and the Various Types
A complete guide to monitor panel types, resolutions, refresh rates, and connection options.
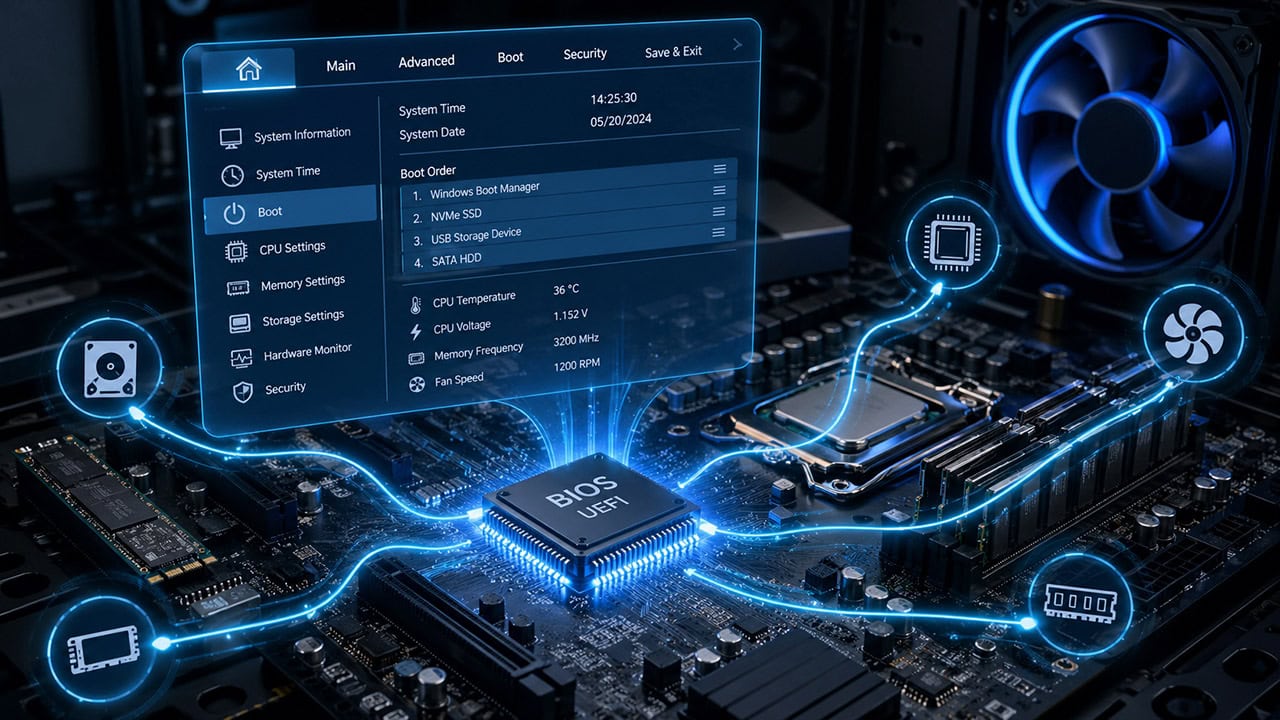
Understanding the BIOS and Its Main Functions
The BIOS controls which graphics output is the primary one, useful when nothing displays at startup.
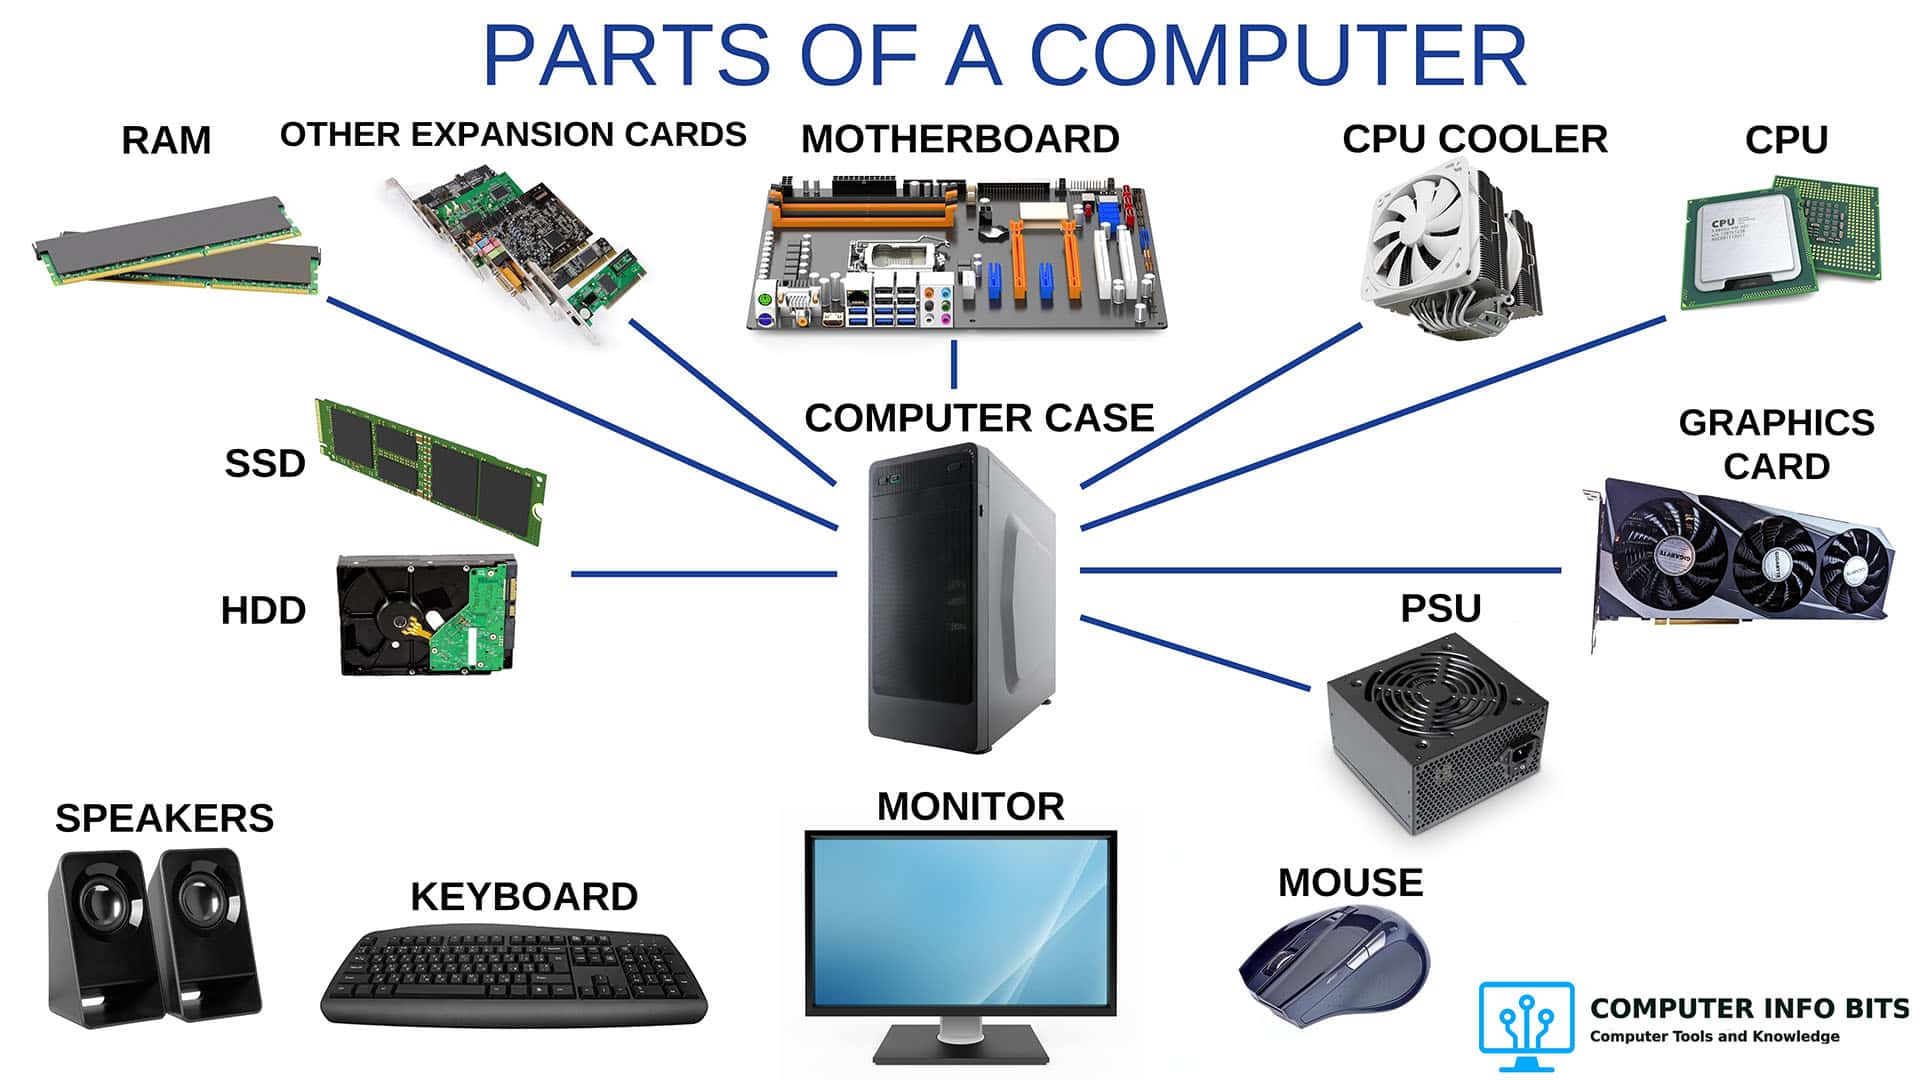
Parts of a Computer and Their Functions
A complete breakdown of every major PC component including the graphics card and its outputs.