How To Stop Windows From Updating Graphics Card Drivers
Windows 10 is designed to automatically keep your drivers up-to-date, which includes updates for your graphics card among other hardware components. While this feature can help in ensuring that you are using the most secure and stable versions of software, it may sometimes interfere with your existing setups or cause compatibility issues with your applications.
Here’s how you can prevent Windows from automatically updating your graphics drivers, giving you full control over your driver installations.
Step 1: Access the Start Menu
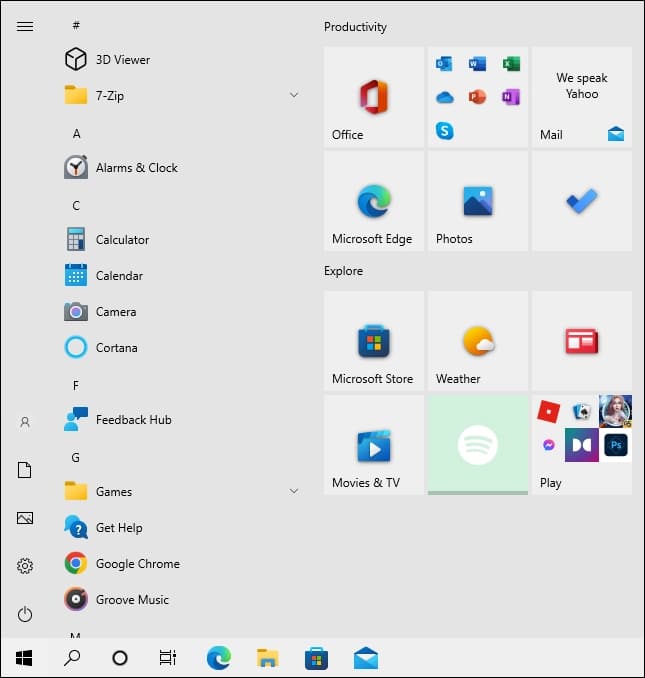
Firstly, access your system settings through the Start menu. You can do this by clicking on the Start button or pressing the Windows key on your keyboard.
Step 2: Open Advanced System Settings
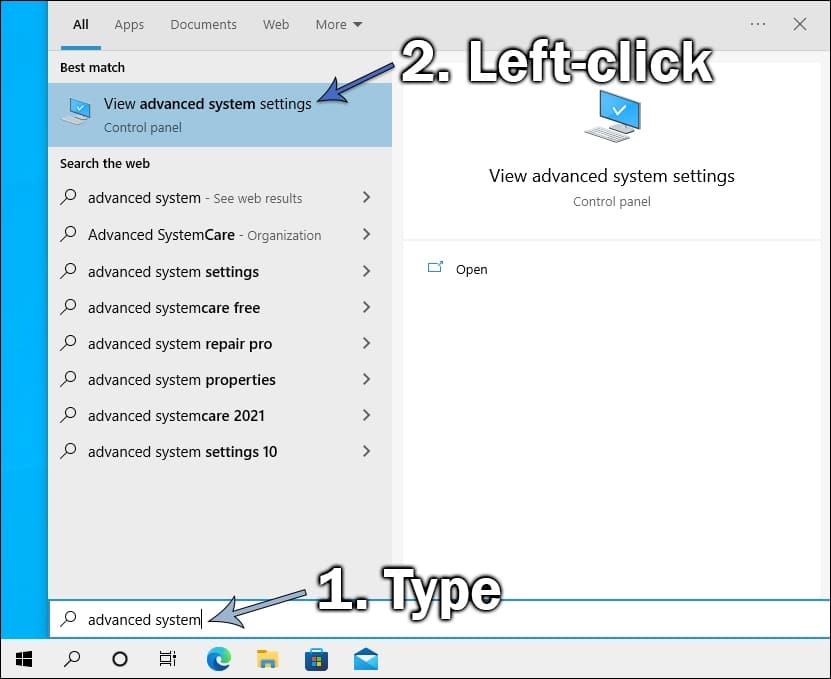
Using the search bar in the Start menu, type “Advanced System Settings” and click on the relevant option that appears. This action will lead you to a new window where you can manage your system’s advanced settings.
Step 3: Navigate to Hardware Settings
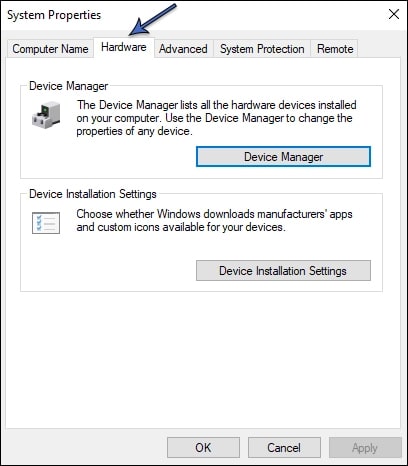
In the System Properties window that opens, go to the ‘Hardware’ tab. Here you will find options related to hardware installation and configuration.
Step 4: Modify Device Installation Settings
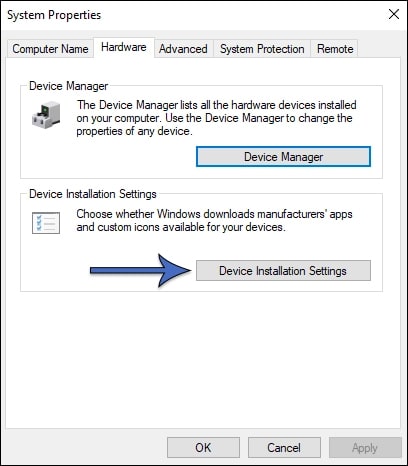
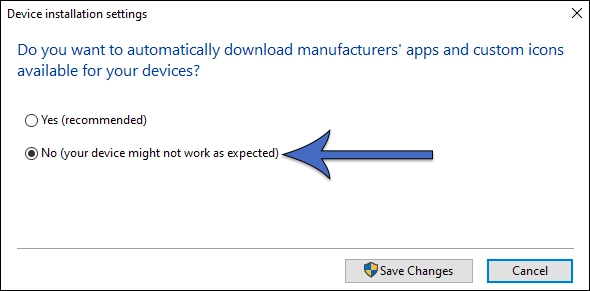
Click on ‘Device Installation Settings’ and choose ‘No’ when asked if you want Windows to automatically download manufacturer’s apps and custom icons. This will prevent automatic updates to your device drivers, including graphics drivers.
Step 5: Save Your Changes
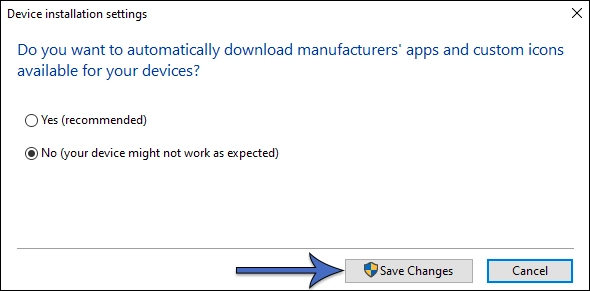
Lastly, click Save to apply the new settings.
After selecting your preferred options, click ‘Save’ to apply the settings. This ensures that your changes are implemented and Windows will stop auto-updating your drivers.
Alternative Methods to Prevent Driver Updates
If the standard method doesn’t fully stop the driver updates, or if you prefer a more robust solution, consider these alternatives:
Using the Local Group Policy Editor
- Press the Start button, type
gpedit.msc, and open the Local Group Policy Editor. - Navigate to: Computer Configuration -> Administrative Templates -> Windows Components -> Windows Update.
- Find the policy “Do not include drivers with Windows Updates,” set it to “Enabled,” and apply the changes.
This method effectively prevents Windows Update from automatically downloading and installing driver updates.
Using the Windows Registry
For advanced users, modifying the Windows Registry offers another method to stop driver updates:
Here’s how to use the registry to stop automatic driver updates:
- Open the Registry Editor by typing
regeditin the Start menu and opening the app. - Navigate to:
HKEY_LOCAL_MACHINE\SOFTWARE\Policies\Microsoft\Windows. - Right-click on ‘Windows’, select ‘New’ -> ‘Key’, and name it ‘WindowsUpdate’.
- Inside the new ‘WindowsUpdate’ key, create a new DWORD (32-bit) value named
ExcludeWUDriversInQualityUpdateand set its value to1.
This registry edit will exclude drivers from Windows Quality Updates, giving you control over when to update drivers manually.