PC Airflow Optimization: Best Fan Placement Guide
By Marlo Strydom · Last updated
PC Airflow Optimization is not about filling every fan mount. It is about giving room air one clear path past the graphics card and CPU cooler, then out of the case. For a standard tower, the safest default is front or side intake with rear exhaust. Add a rear-top exhaust only when testing shows it helps. Noctua's case airflow guide recommends this front-to-back pattern while noting that no layout fits every case.
Best PC Airflow Setup for Most PCs
Start with two filtered intake fans at the front or side and one exhaust fan at the rear. This three-fan layout is Noctua's recommended starting point. It sends fresh air across the main parts of a computer without adding fans that may work against the main flow.
- Front or side: Two intake fans behind clean filters
- Rear: One exhaust fan behind the CPU area
- Top: Leave empty at first, then test one exhaust in the rear-most mount
- Bottom: Use as an optional filtered intake when the case supports it and the graphics card needs more fresh air
Do not treat the number printed on a fan box as the airflow it will deliver inside your PC. Mesh, filters, grilles, and other restrictions change real airflow. Noctua's airflow fundamentals guide explains why fan size, speed, case resistance, and placement must be considered together. Our PC airflow calculator can compare rated fan totals, but temperature and airflow tests should decide the final setup.
PC Airflow Diagram
The blue arrows in this diagram show intake air crossing the graphics card and CPU cooler. The orange arrows show air leaving through the rear and top.
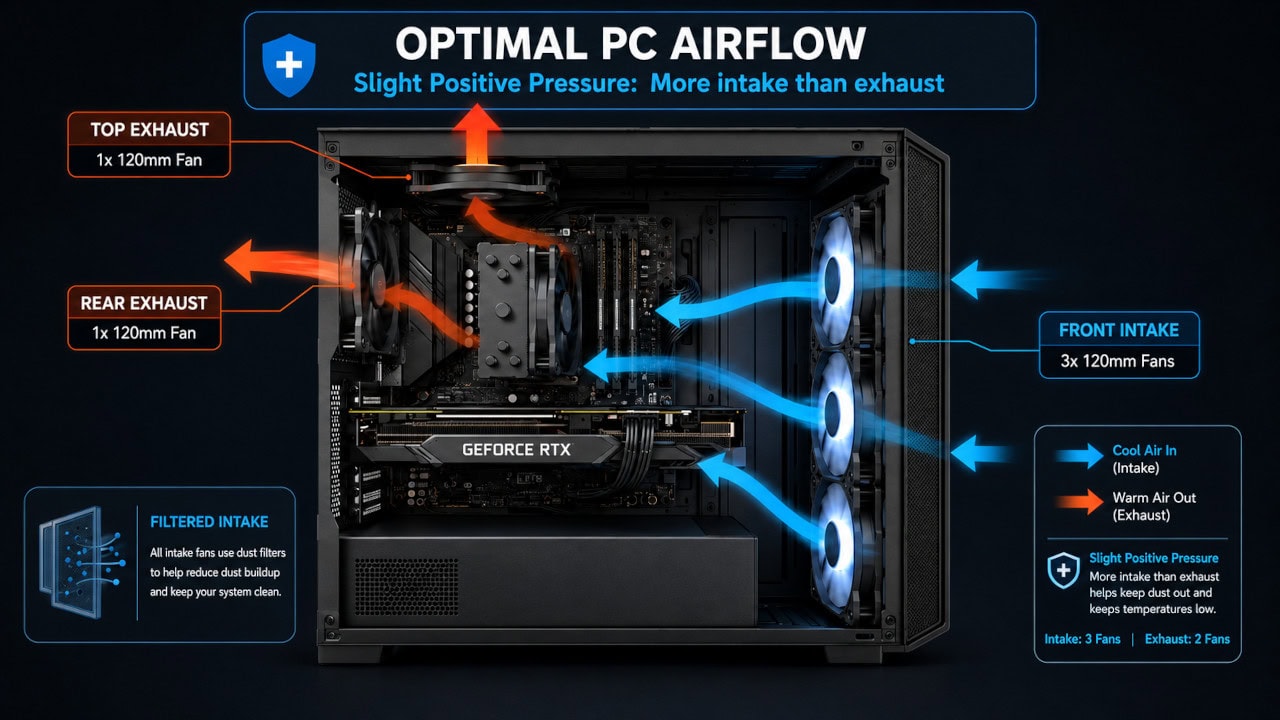
Three intake fans and two exhaust fans can be a useful starting layout, but fan count alone does not prove that a case has positive pressure. Fan models, speed settings, and intake restrictions also affect how much air crosses the case.
How Case Airflow Works
Case fans create forced airflow. Their shared direction matters more than relying on warm air to rise. Fans that blow toward each other can cause turbulence and extra noise, while a clear path lets each fan support the next one. Noctua covers these effects in its fan placement recommendations.
Airflow carries heat away after the CPU cooler, graphics card cooler, and other heatsinks move it off their parts. If CPU cooling is not enough, the processor can reduce its speed to stay within its operating limit. Intel's PC cooling guide explains this protection and advises checking the limit for the exact processor.
Signs Your Airflow Needs Work
Do not judge airflow by one universal temperature. Intel advises checking the operating limit for the exact processor, and it notes that room temperature affects cooling. Look for a repeatable problem under the same test:
- Thermal throttling: The CPU slows down because it reaches its temperature limit
- Constant fan noise: Case and cooler fans stay fast during a steady, light workload, which may call for a better fan curve
- Blocked filters: Dust covers the intake mesh or stops a fan from moving air freely
- Wrong direction: A fan does not match the airflow direction shown by its frame and hub side
If the first warning appears, follow our guide to check whether the CPU is thermal throttling. For graphics problems, use the tests in our GPU health guide.
Positive, Neutral, and Negative Case Pressure
Case pressure describes the balance between the air that fans pull in and the air they push out. Noctua defines positive, neutral, and negative pressure by actual airflow, which may not match a simple fan count.
Positive Pressure
Good for Dust Control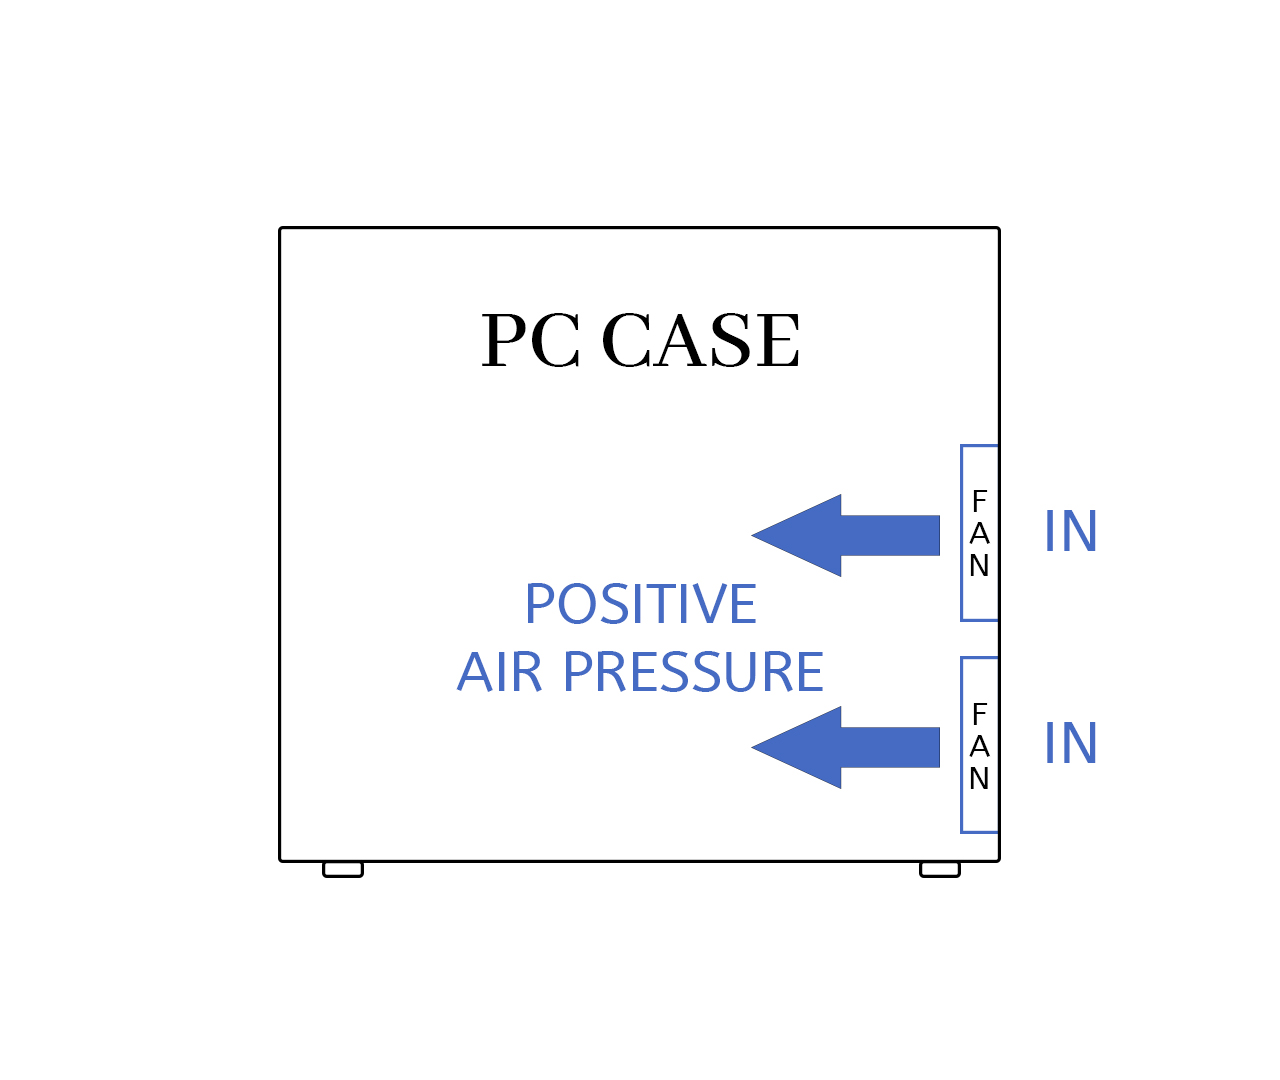
Positive pressure means more air enters than leaves through powered fans. It helps limit air and dust entering through unfiltered gaps, but it does not stop dust from passing through intake fans. Intel recommends a balanced setup with a slight positive emphasis and warns that too much intake can make fans work against the pressure inside the case.
Use it when: Your intake openings have filters and you want dust to collect there instead of at case gaps.
Negative Pressure
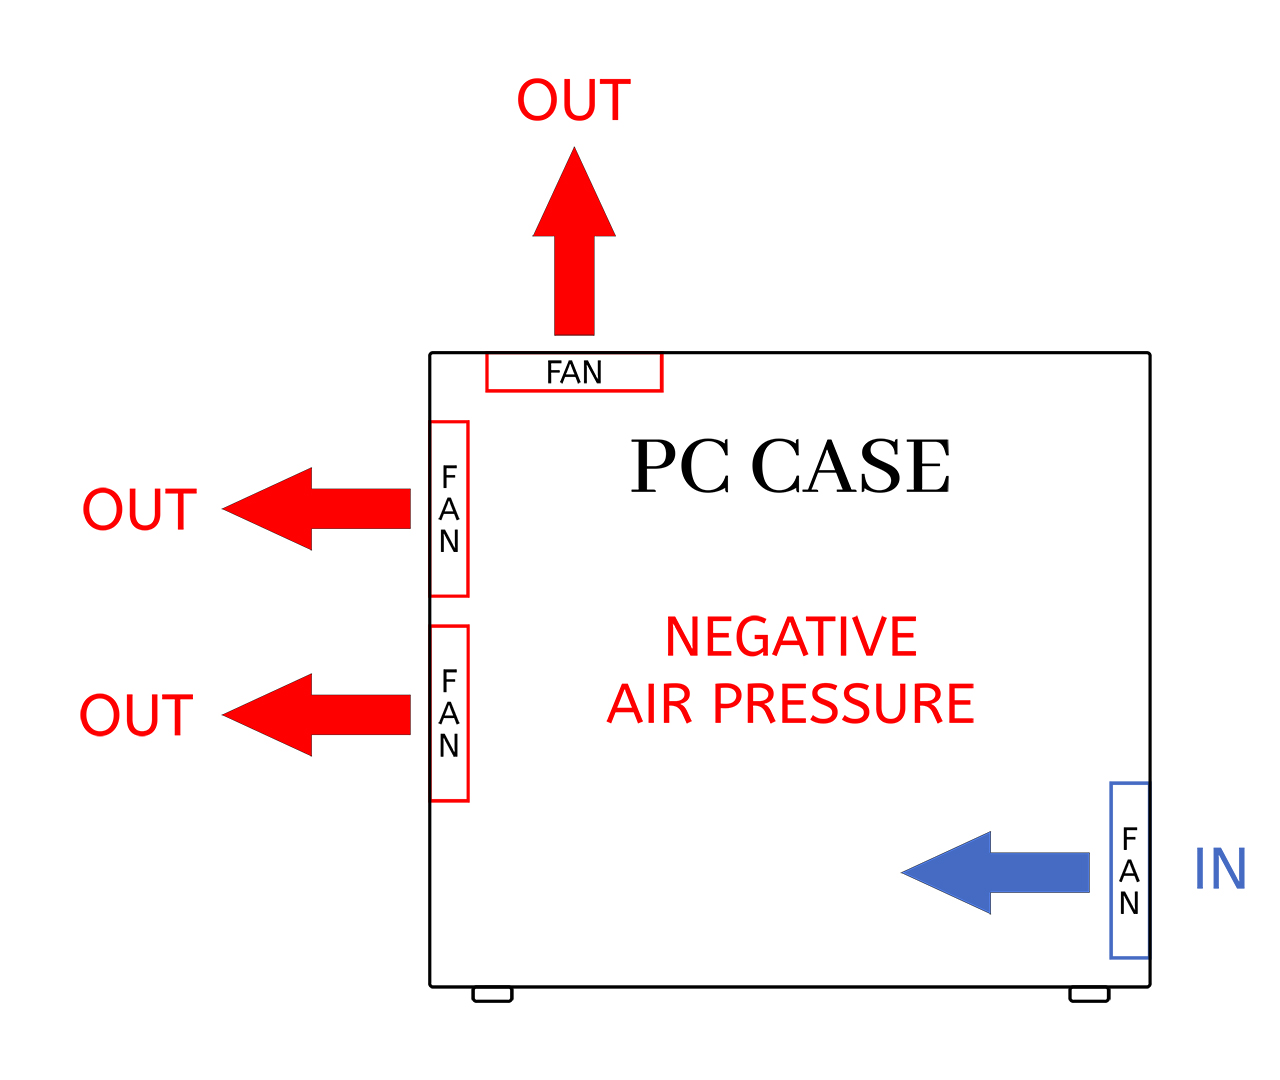
Negative pressure means exhaust airflow is greater than intake airflow. Noctua explains that this can remove warm air quickly while pulling replacement air and dust through unfiltered openings.
Use it when: A controlled temperature test shows that your hardware benefits and you can manage the extra cleaning.
Fan Placement Setups That Work
The following layouts continue Noctua's placement order for a normal front-to-back case. Side intake mounts can take the place of front mounts in dual-chamber cases.
| Case fans | Starting placement | Reason to use it |
|---|---|---|
| Four | Add one more front intake | More fresh air for a warm graphics card |
| Five | Add one exhaust at the rear of the top panel | More exhaust near the CPU cooler |
Extra top or bottom fans should solve a measured need. Noctua's guide shows that fan position can change which parts get fresh air, so retest after each addition.
Air-Cooled CPU Setup
Point a tower CPU cooler toward the rear exhaust fan so its airflow joins the case airflow. This is Noctua's recommended default orientation for tower coolers. Check the cooler and motherboard manuals before installation because socket layout and part clearance vary.
Liquid-Cooled CPU Setup
Radiator placement changes which part gets the coolest air. Noctua recommends a front or side intake radiator when CPU temperature is the priority, or a top exhaust radiator when GPU temperature is the priority. In either setup, the remaining case fans should continue the same airflow path.
Can You Simulate PC Airflow?
Yes, but a real PC airflow simulation is an engineering project, not a quick fan-count calculator. SimScale's electronics cooling tutorial requires prepared case geometry, a fluid volume, materials, heat sources, boundary conditions, a mesh, and result checks. A useful model must represent the exact case and components.
Test the real computer before building a CFD model. Use the airflow calculator for an initial fan comparison, then measure the computer under a repeatable workload. This catches the effects of the actual filters, panels, coolers, and fan curves.
How to Improve PC Airflow Without Buying Anything
- Confirm fan direction: Check the arrows on the fan frame. If there are no arrows, Noctua explains how the frame and hub side show the exhaust direction.
- Clean filters and fans: Turn the PC off first. Intel advises holding fan blades still when using compressed air so they do not spin too fast.
- Clear the airflow path: Move loose cables behind the motherboard tray and keep them away from fan blades. Noctua notes that even small obstructions can add turbulence and noise.
- Open blocked vents: Remove objects that cover the front, side, top, or bottom openings used by your installed fans.
- Tune fan speeds: Use your motherboard's BIOS or UEFI settings to set a smooth curve. Noctua's fan curve guide recommends tuning for the actual fan, processor, noise goal, and workload instead of using one universal curve.
How to Test PC Airflow Changes
Change one item at a time. Keep the room, case panels, workload, and test length as similar as possible. Intel notes that room temperature affects PC cooling, so record it with each result. Use HWiNFO or another trusted sensor tool to record CPU temperature, GPU temperature, clock speed, and fan speed.
- Run a normal game or work task and save the starting readings.
- Change one fan position, direction, or speed curve.
- Repeat the same task with the same settings.
- Compare temperature, clock speed, fan speed, and noise.
- Keep the change only if it improves the result you care about.
Use a Tissue Test for Airflow Direction
Hold a thin strip of tissue just outside a closed case vent. Air pulling the tissue toward the vent marks an intake. Air pushing it away marks an exhaust. Keep the tissue outside so it cannot touch a fan.
Should You Use Smoke to Test PC Airflow?
Intel describes incense smoke as one way to see airflow, but it also warns users to take care with ash and embers. A tissue strip gives the direction without putting flame or ash next to the computer, so it is the better home test.
Common PC Airflow Mistakes
Noctua's setup examples show why each fan must fit the case, cooler, and full airflow path. Avoid these planning errors:
- Copying a tower layout into a different case: Small and dual-chamber cases may use other intake positions.
- Leaving radiator fans out of the plan: Radiator intake or exhaust changes the case's full air balance.
- Filling every top mount: A front-top fan can redirect air before it crosses the hottest parts.
- Judging a closed case from an open-panel test: The installed panels and filters create the real restrictions.
- Chasing temperature alone: Compare fan noise and speed as well as the sensor reading.
How to Judge the Result
Noctua states that there is no one-size-fits-all approach to case airflow. Results depend on the case, room temperature, fan models, filters, coolers, and component power. A successful change gives you a better result under the same test, such as lower component temperature, lower fan speed at the same temperature, or the end of heat-related throttling.
Keeping Airflow Working Well
Clean by condition instead of following a fixed calendar. Check filters more often in a dusty room or when the computer sits near the floor. Intel notes that dust buildup can block airflow, and both Noctua's cleaning guide and Intel warn users to hold fan blades still during compressed-air cleaning.
- Inspect: Look for dust on intake filters and fan blades.
- Clean safely: Shut down, unplug the PC, and follow the case and component manuals.
- Retest: Run the same cooling check after cleaning or changing hardware.
- Adjust: Review fan placement when a new graphics card, cooler, or radiator changes the airflow path.
Related Posts
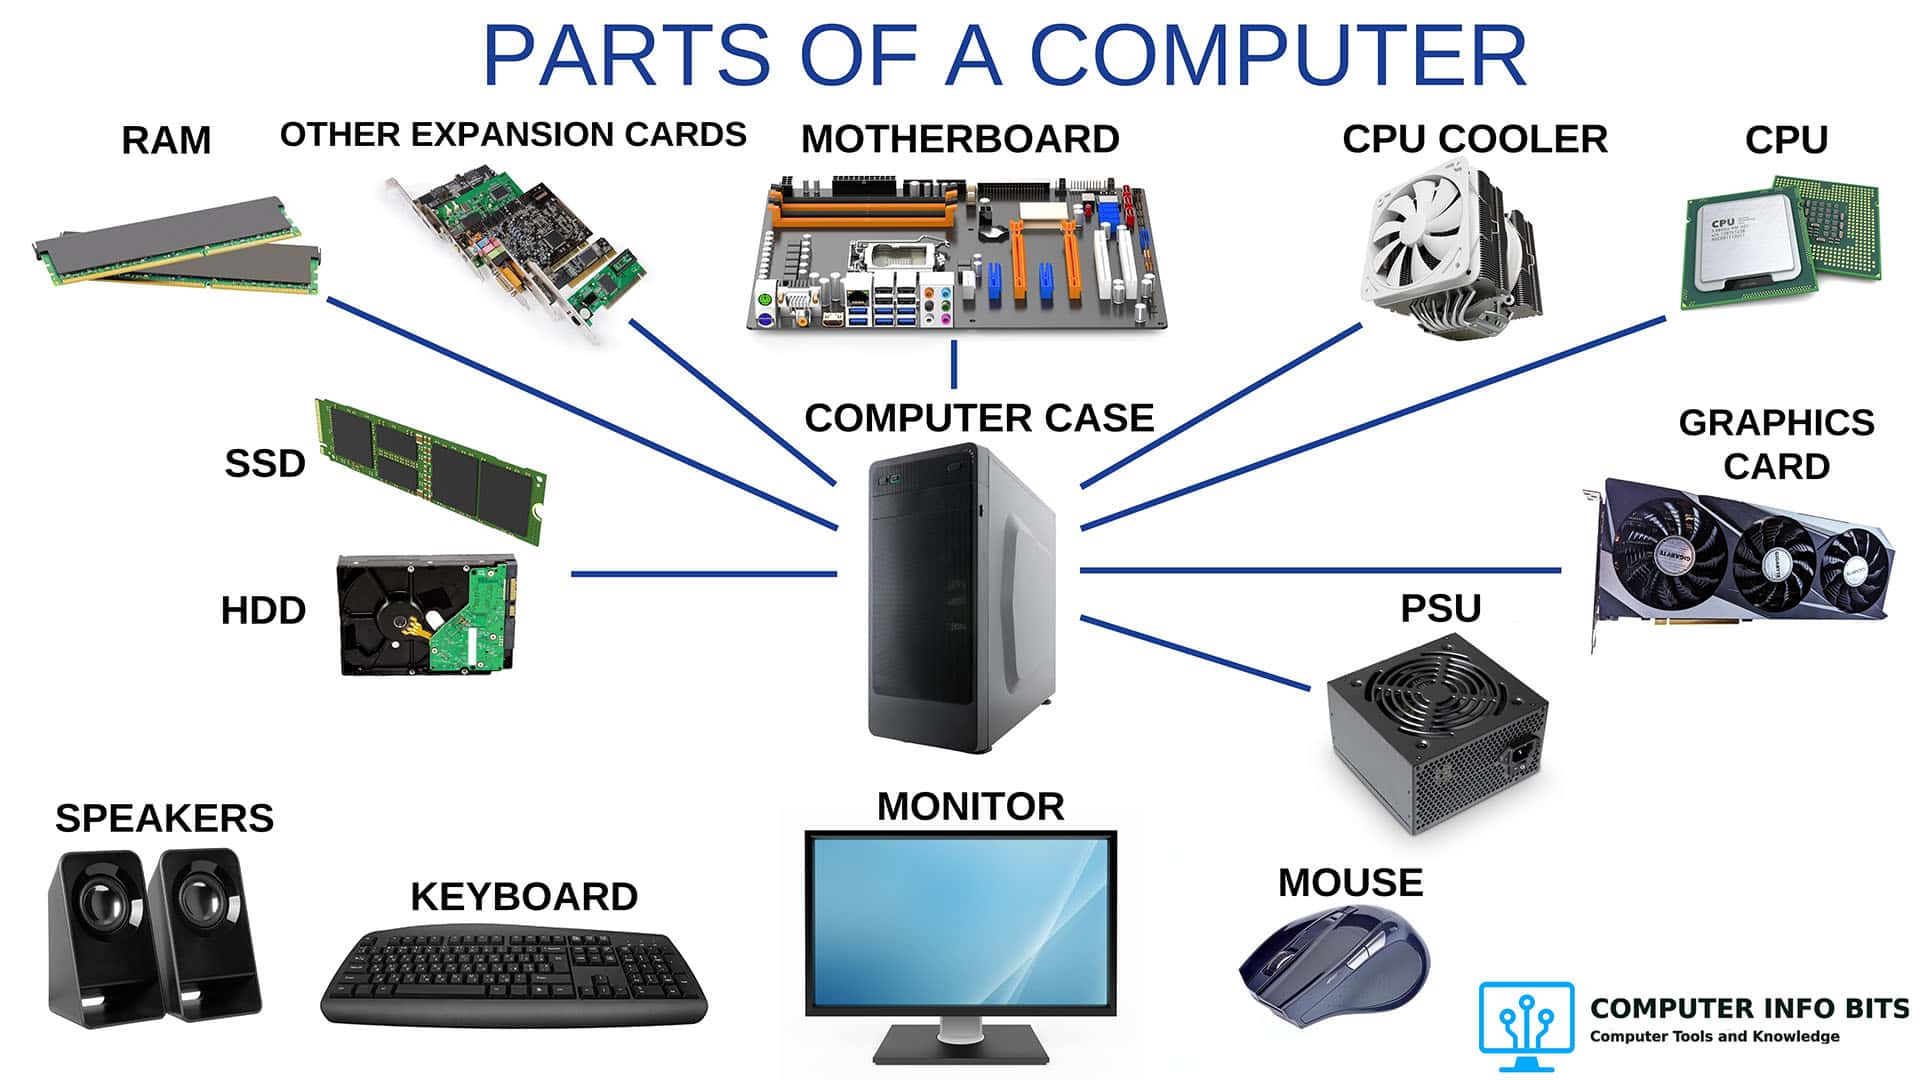
Parts of a Computer and Their Functions
A complete breakdown of every major PC component including the CPU, RAM, GPU, storage, PSU, cooling, and connectivity.
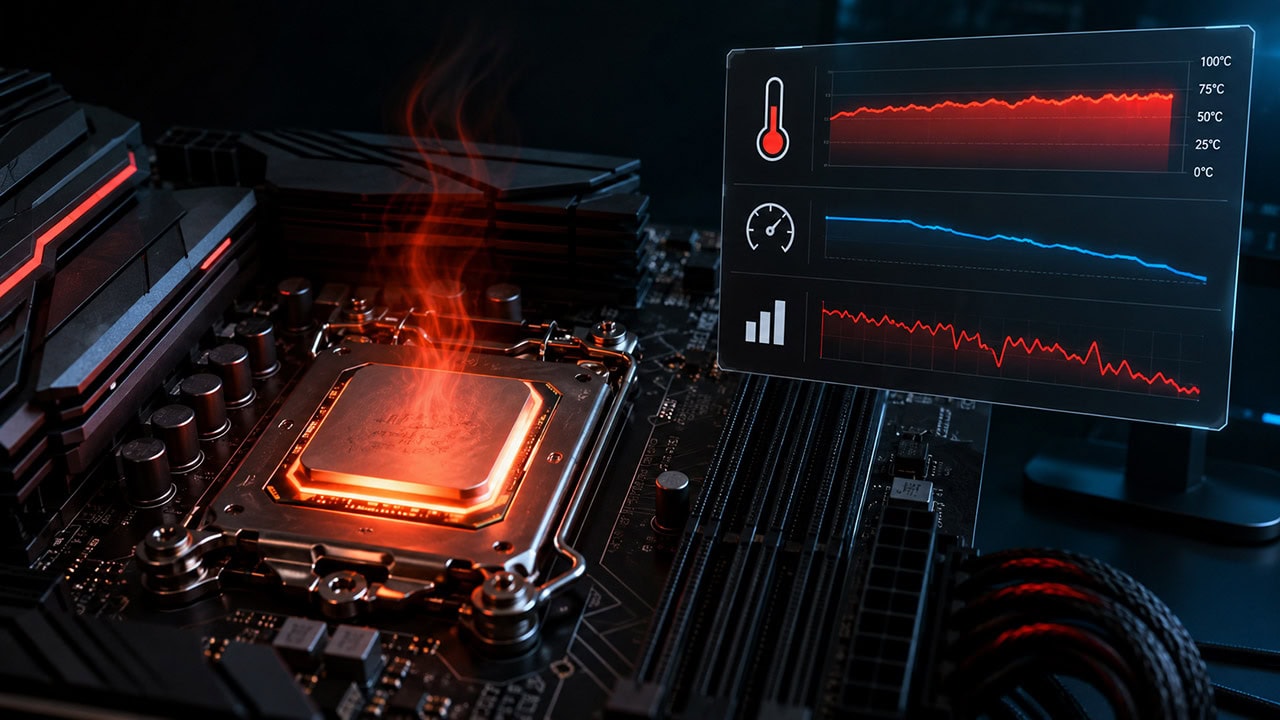
How to Know If Your CPU Is Thermal Throttling
Spot the signs of a CPU slowed by heat, confirm it with HWiNFO64, and learn the Intel and AMD limits that trigger it.
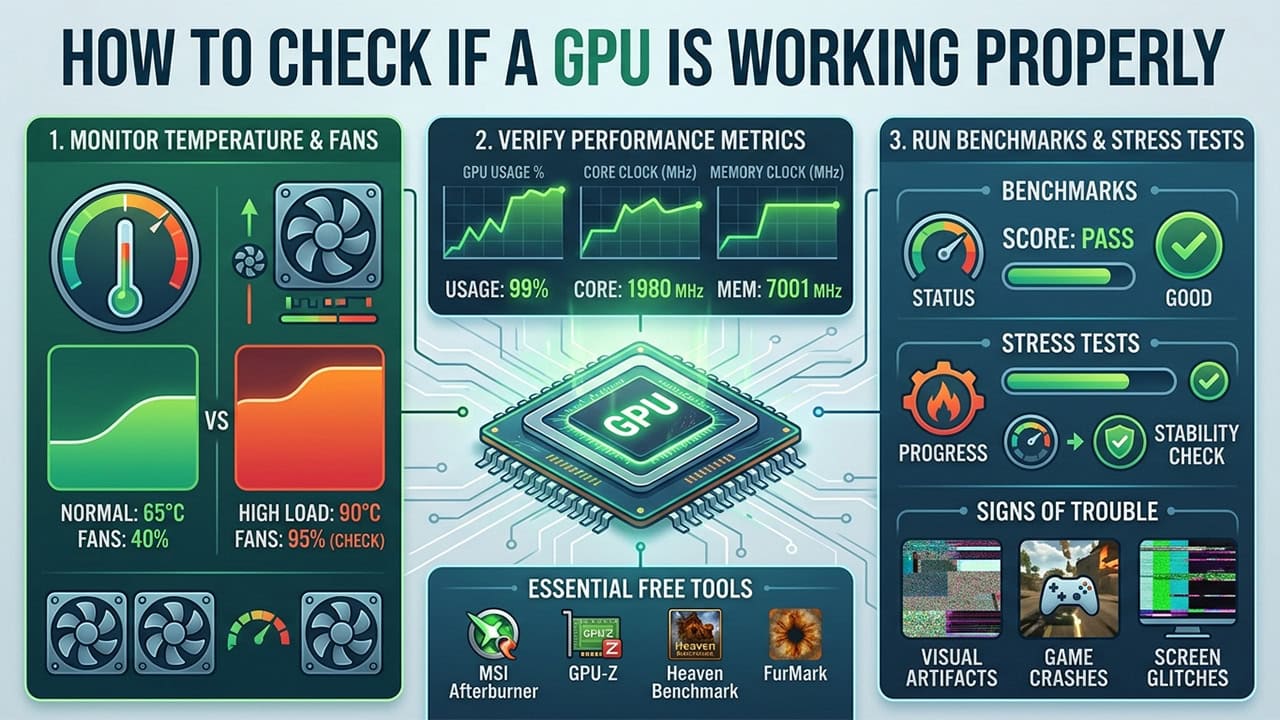
How to Check If a GPU Is Working Properly
Test your graphics card using Task Manager and MSI Afterburner. Covers common GPU problems and fixes.
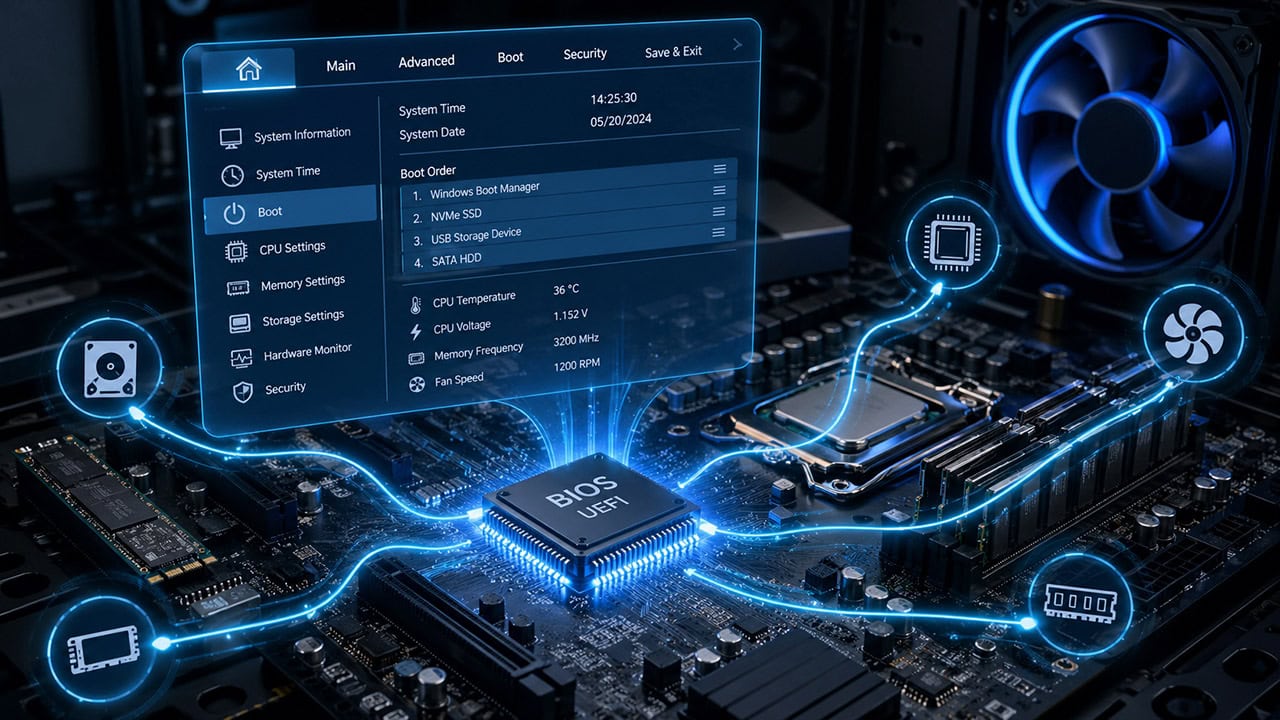
Understanding the BIOS and Its Main Functions
What POST does, the BIOS Setup Utility, CMOS, Secure Boot, overclocking, and Legacy BIOS vs UEFI explained.