Turning on a computer properly requires checking several essential connections before pressing the power button. Understanding how computers work helps explain why these startup steps matter. This comprehensive guide walks you through each step to ensure your system starts correctly and helps troubleshoot common startup issues when your computer won't turn on.
Quick Answer: To turn on a computer, ensure power and monitor cables are connected, keyboard and mouse are plugged in, then press the power button on the front of the case. If nothing happens, check that all power switches are in the ON position.
Essential Requirements Before Starting
Before attempting to power on your computer, verify these basic components are properly connected. Missing any of these connections can prevent your system from starting or displaying anything on screen.
- Power cable connected to computer and wall outlet
- Monitor connected with appropriate video cable
- Keyboard and mouse plugged into USB or PS/2 ports
- All power switches in ON position
- Monitor powered on separately
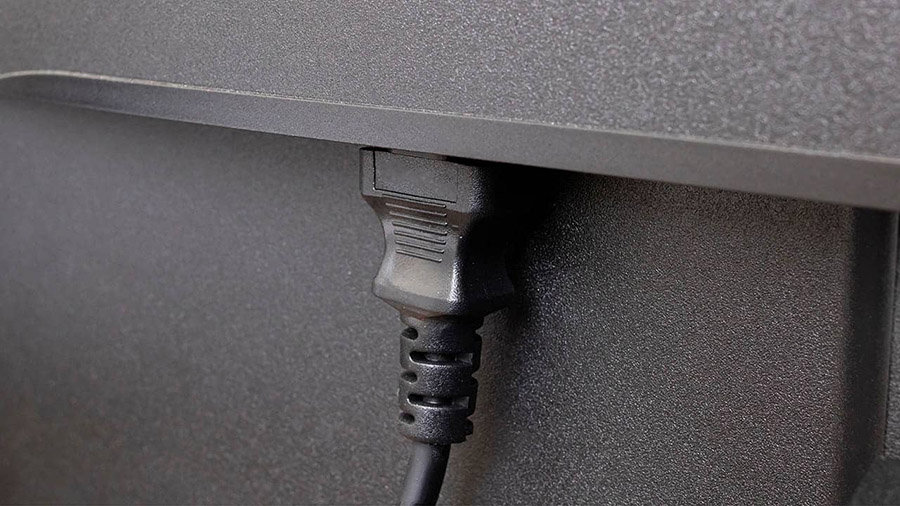
Step 1: Verify Power Connection
Locate the power cable at the back of your computer case. This thick cable connects your computer to the electrical outlet. Most power supplies include a rocker switch near where the cable plugs in - ensure this switch is set to the "1" or "ON" position.
Check that the other end of the power cable is firmly connected to a working electrical outlet. Test the outlet by plugging in another device or ensuring the wall switch is turned on.
Important Safety Note
Never attempt to turn on a computer with loose power connections. Ensure all cables are firmly seated before proceeding.
Step 2: Connect Keyboard and Mouse
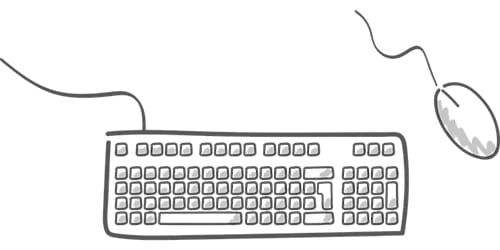
Your keyboard and mouse connect to specific ports on your computer. Modern systems typically use USB connections, while older computers may have PS/2 ports with color-coded connectors.
USB Connections
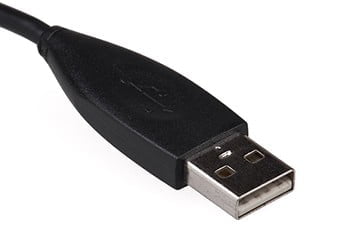
USB connectors are rectangular and can be plugged into any available USB port on your computer. These ports are usually located on both the front and back of the computer case. USB is the standard connection method for modern keyboards and mice.
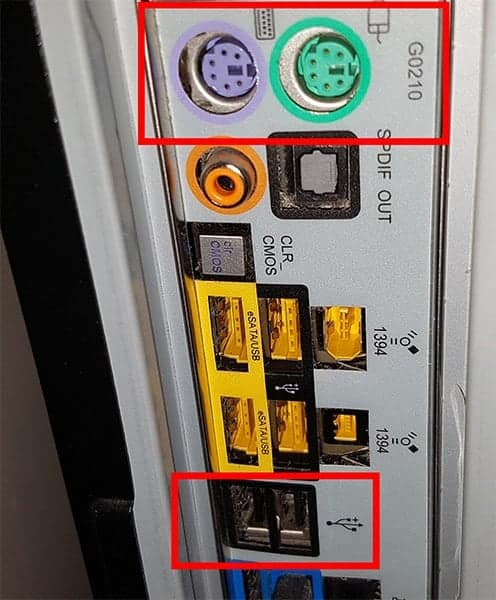
PS/2 Connections (Legacy Systems)
Older systems use PS/2 ports with round connectors. The purple port is for the keyboard, and the green port is for the mouse. These connections must be made while the computer is powered off to avoid potential damage.
Step 3: Connect Your Monitor
Your monitor requires both a video connection to display images and a power connection to operate. There are several types of video connections commonly used on computers.
Tip: Connect the video cable to your graphics card ports (usually lower on the back panel) rather than motherboard ports for better performance on systems with dedicated graphics cards.
VGA Connection

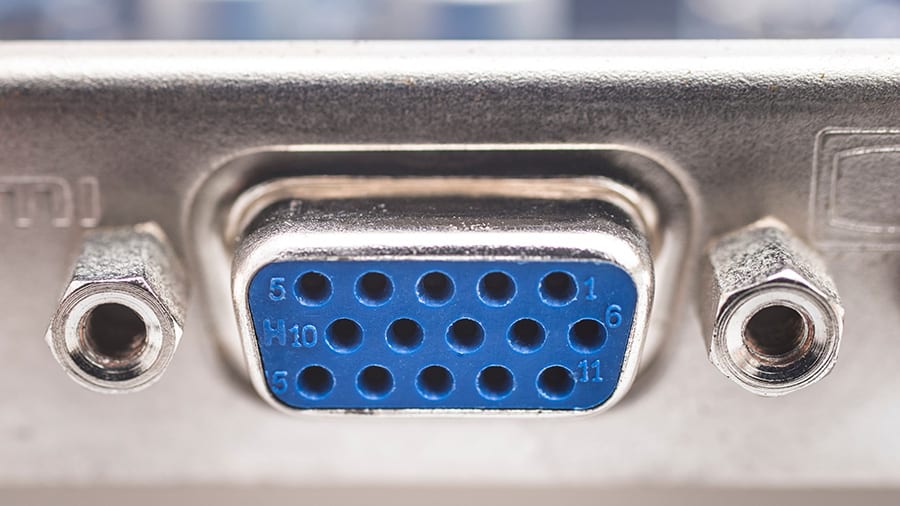
VGA (Video Graphics Array) uses a 15-pin connector with screws for securing the connection. This analog connection is found on older systems and provides basic video output with limited resolution capabilities.
DVI Connection
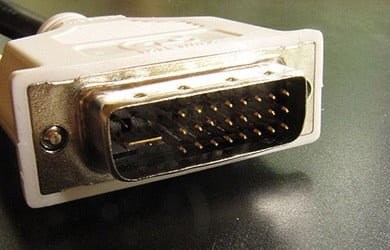
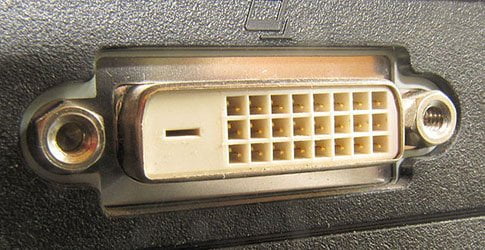
DVI (Digital Video Interface) provides higher quality video output than VGA. The connector includes multiple pins and often has screws for secure attachment to prevent accidental disconnection.
HDMI Connection
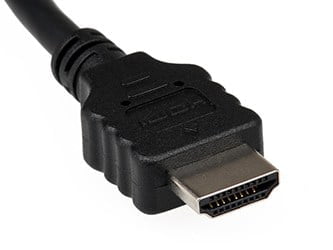
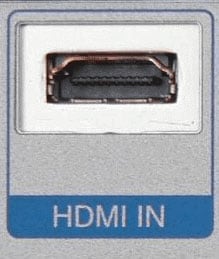
HDMI (High-Definition Multimedia Interface) is widely used on modern computers and provides excellent video quality. This connection is common on gaming systems connecting to televisions and supports both video and audio through a single cable.
DisplayPort Connection
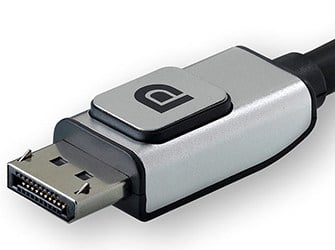
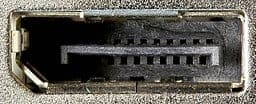
DisplayPort offers the highest quality video output and supports high refresh rates and resolutions. This connection type is preferred for gaming and professional applications requiring superior display quality.
Step 4: Power On Your Monitor
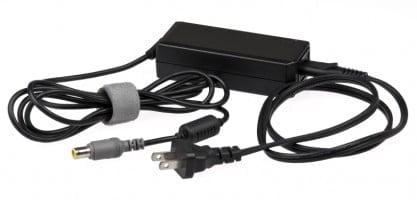
Your monitor requires separate power to function. Some monitors use external power adapters (power bricks), while others connect directly to wall power using standard power cables.
For monitors with power adapters, ensure the barrel connector is firmly plugged into the monitor and the power adapter is connected to a working electrical outlet.
Monitors with direct power connections use cables similar to computer power cables. Connect one end to the monitor and plug the other end into a wall outlet, then ensure the outlet switch is turned on.
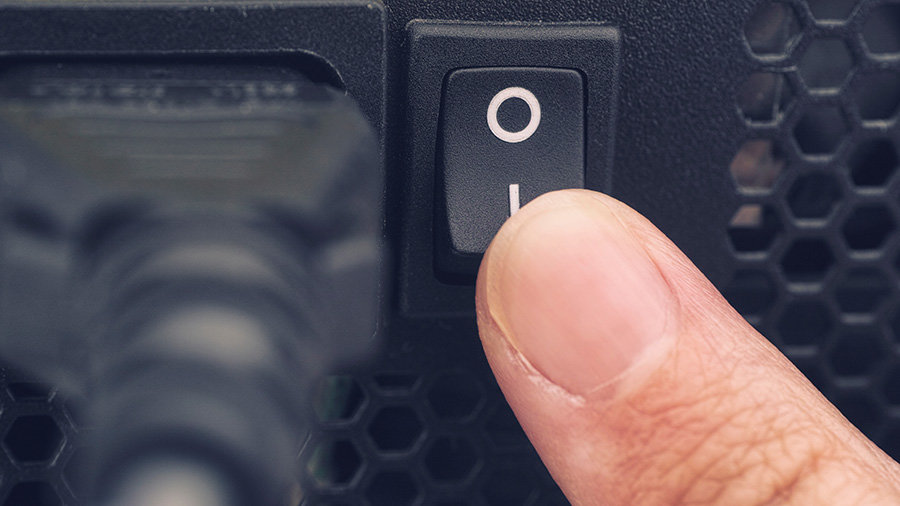
Step 5: Start Your Computer
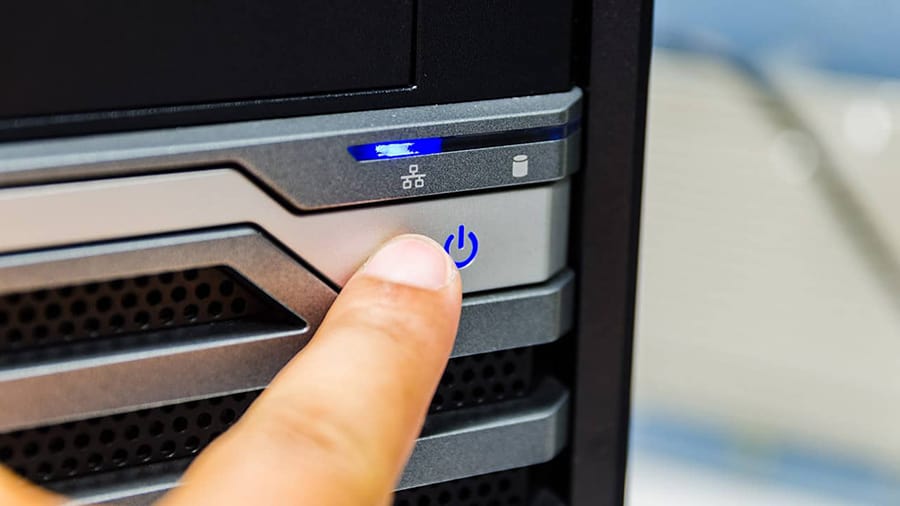
With all connections verified, locate the power button on your computer case. This button is typically found on the front panel and may be accompanied by LED indicators or other control buttons.
Press the power button once and release it. You should hear the computer fans start spinning and see LED lights activate. The startup process typically takes 30-60 seconds on modern systems.
Troubleshooting Startup Issues
If your computer doesn't respond when you press the power button, work through these troubleshooting steps systematically.
- Verify the power supply switch is in the ON position
- Check that the power cable is firmly connected at both ends
- Test the electrical outlet with another device
- Try pressing different buttons if unsure which is the power button
- Wait 15 seconds between button presses to avoid confusion
No Response from Computer
If pressing the power button produces no lights, sounds, or fan activity, the issue is likely power-related. Double-check all power connections and ensure the power supply switch is set correctly.
Computer Starts But No Display
If you hear the computer starting but see no image on your monitor, check the monitor's power button and connections. Many monitors have their own power buttons that must be pressed separately.
Advanced Tip: Some systems support wake-on-LAN or wake-on-keyboard features that allow remote startup. These features must be configured in the system BIOS settings.
Understanding Computer Startup Process
When you successfully turn on your computer, it goes through several stages before reaching the desktop. Understanding this process helps identify where issues might occur.
The computer first performs a Power-On Self Test (POST) to check hardware components. You'll then see the BIOS or UEFI screen briefly before the operating system begins loading. For detailed information about this critical startup process, see our guide on BIOS functions and how they work. Finally, you'll reach the login screen or desktop.
Modern computers with properly configured monitors should display this entire process. If startup stops at any point, the issue can be identified by which stage fails to complete.
Once your computer is running successfully, you can explore more advanced features like automatic startup scheduling or network wake capabilities through your system settings.