Is your graphics card hitting 85°C+ during gaming? That crusty old thermal paste is probably the culprit. I've seen GPUs drop 15-20 degrees after a simple paste replacement. Most people think it's complicated, but honestly, it takes about 45 minutes and costs less than $10 in materials.
Quick Answer: Remove GPU cooler screws, clean old paste with alcohol, apply rice-grain amount of new paste, reassemble. Expect 10-20°C temperature drops on cards over 2 years old.
What You Actually Need
Don't overthink the tools. Here's what actually works:
- Thermal paste - Noctua NT-H2 is the best choice for GPUs
- Thermal paste remover - Arctic Clean or similar dedicated remover
- Cotton swabs and lint-free cloths - Paper towels leave fibers
- Phillips head screwdrivers - Usually #1 and #2 sizes
- Compressed air - Clean while you're in there
Warranty Alert: This voids your warranty. Only do this on out-of-warranty cards or if you're okay with the risk.
Getting the GPU Out Safely
Power down completely and unplug everything. No shortcuts here - I've seen people fry components rushing this step.
- Unplug power cables from the GPU (6-pin, 8-pin, whatever yours has)
- Unscrew the metal bracket holding the card to your case
- Push down the PCIe slot tab and lift the card straight up
- Work on a clean, static-free surface
Give it a good blast with compressed air while you're at it. Dust buildup makes cooling problems worse.
Taking Apart the Cooler

Every GPU is a bit different, but the process is similar. Take pictures before you start - trust me on this one.
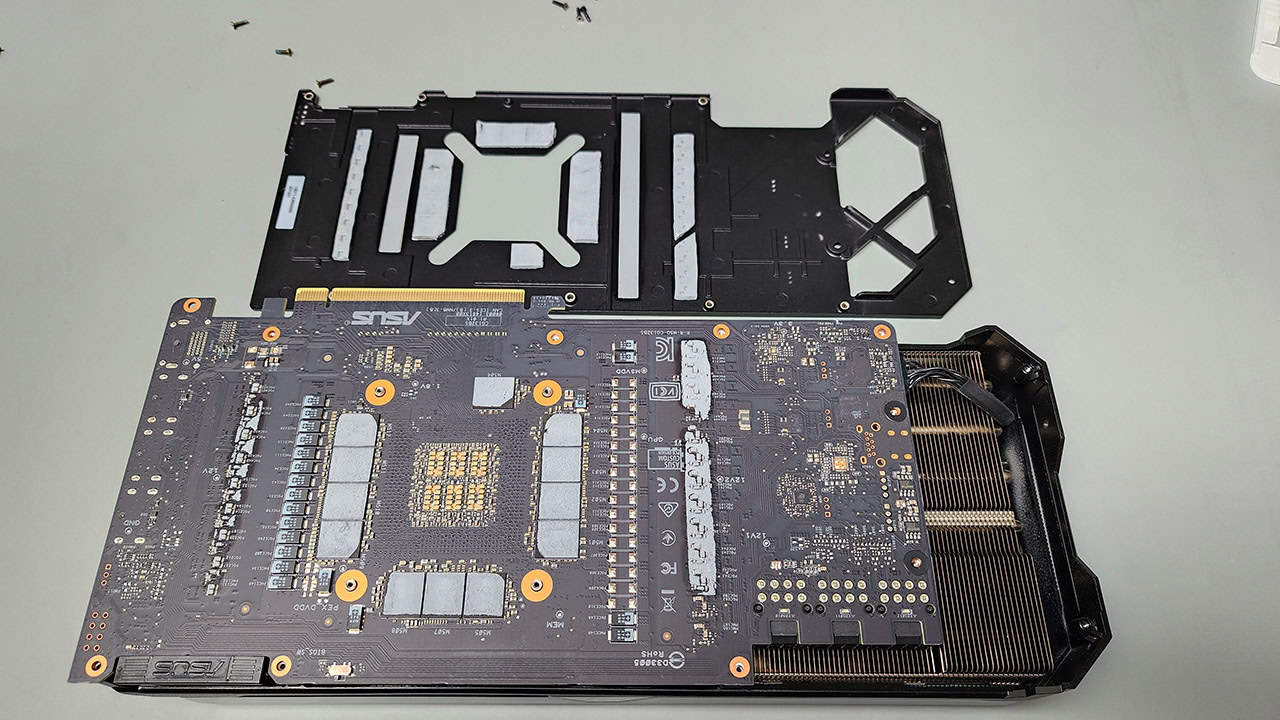
- Remove the backplate screws (usually 4-8 small screws)
- Disconnect fan headers - wiggle gently, don't yank
- Find the heatsink mounting screws (bigger than backplate screws)
- Unscrew in an X pattern to keep pressure even
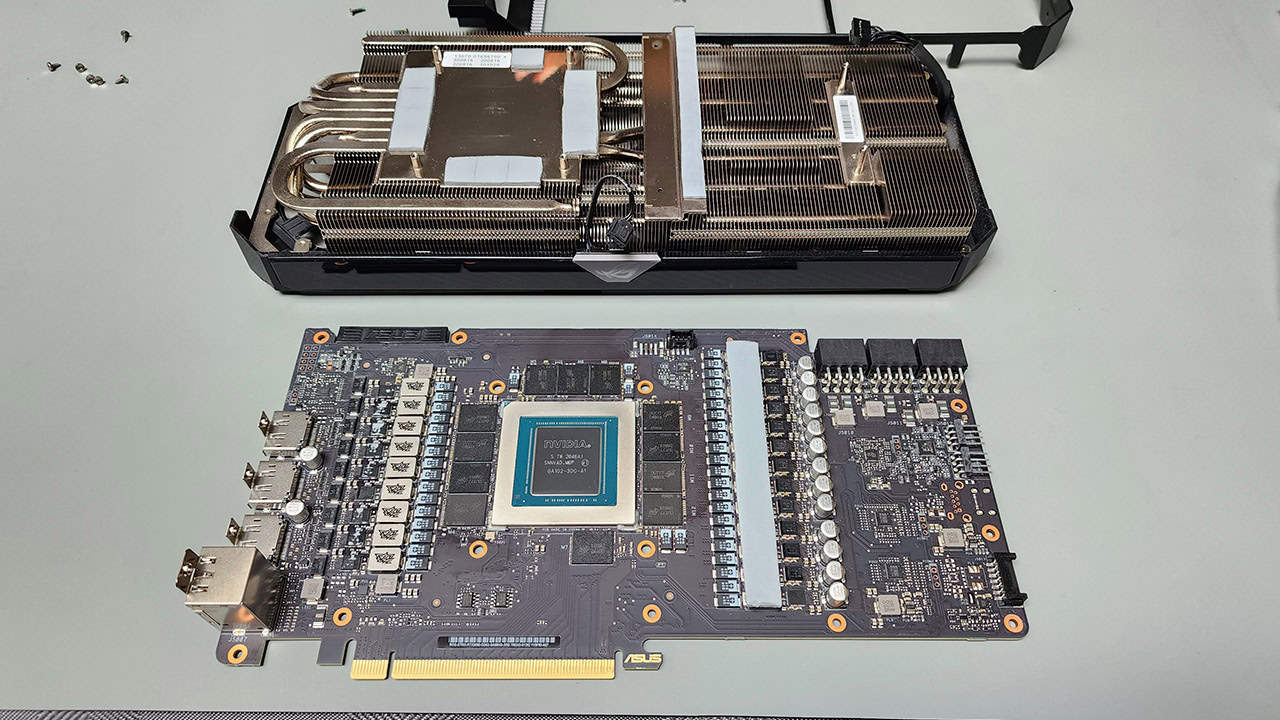
The heatsink might stick to the GPU die. Don't force it - gentle twisting motions work better than brute force.
Don't Touch The Thermal Pads: Those small gray squares on memory chips need to stay put. Replace them if damaged, but leave them alone otherwise.
The Cleaning Process

This part determines whether your paste job works or not. Old paste residue creates air gaps that kill thermal transfer.
- Apply thermal paste remover to both the GPU die and heatsink
- Let it sit for 2-3 minutes to break down the old compound
- Scrub with cotton swabs until both surfaces are mirror-clean
- Wipe with a clean cloth and let air dry completely
You want both surfaces completely clean. Any leftover gunk creates hot spots that hurt performance.
Applying Fresh Thermal Paste
Here's where people usually mess up - they use way too much paste. A grain of rice worth in the center is plenty. The mounting pressure spreads it evenly when you reassemble.
Pro Tip: Don't spread the paste manually. Let the heatsink do the work when you tighten it down. Manual spreading creates air bubbles.
Putting It Back Together
Assembly is just disassembly in reverse, but pay attention to screw tightening:
- Lower the heatsink straight down - no sliding around
- Start all screws by hand before tightening
- Tighten in an X pattern, little bit at a time
- Firm but not gorilla-tight - you can crack the die
Reconnect fan cables and replace the backplate. Double-check everything before moving on.
Testing Your Handiwork
Install the card, boot up, and check temperatures immediately. Use MSI Afterburner or GPU-Z to monitor temps.
- Idle temps should be 30-40°C (room temp dependent)
- Gaming loads should stay under 75°C on most cards
- Run FurMark or Unigine Heaven for stress testing
- Listen for unusual fan noises or grinding
If temps are still high, you probably need to reseat the heatsink. It happens - don't get discouraged.
What to Expect
Fresh thermal paste typically drops temperatures 10-20°C on cards that are 2+ years old. Your fans won't work as hard, so the system runs quieter too. Plus you've potentially saved yourself from buying a new card for a few more years.
The whole process gets easier once you've done it. Most people are surprised how straightforward it actually is compared to what they imagined.
Frequently Asked Questions
How often should I replace GPU thermal paste?
Replace GPU thermal paste every 2-3 years or when temperatures exceed normal ranges. Cards over 2 years old typically see 10-20°C temperature drops after paste replacement.
What thermal paste is best for GPUs?
Noctua NT-H2 is the best thermal paste for GPUs, offering excellent thermal conductivity and long-term stability specifically designed for graphics card applications.
Does replacing GPU thermal paste void warranty?
Yes, replacing GPU thermal paste typically voids the manufacturer warranty. Only attempt this on out-of-warranty graphics cards or if you accept the warranty risk.
How much thermal paste should I use on a GPU?
Use a rice grain-sized amount of thermal paste in the center of the GPU die. Too much paste can actually hurt thermal performance by creating air gaps.
Related Guides: Learn more about GPU fan speed control, GPU overheating issues, and computer maintenance to keep your system running optimally.
