How to Check If a CPU Is Working Properly
By Marlo Strydom · Last updated
If you want to know how to check if a CPU is working properly, start with evidence instead of guesswork. A PC that boots can still be unstable, while one that will not boot may have a power, RAM, or motherboard fault instead. The checks below show whether Windows sees the right processor, whether it stays within its own heat limit, and whether it can finish a heavy test without errors.
Quick Summary: Check Your CPU in Five Steps
- Confirm the model: Open Task Manager, select Performance, then CPU. Check the name, core count, and logical processor count.
- Check startup: Make sure the BIOS or UEFI identifies the CPU and does not stop on a CPU warning light or code.
- Check heat: Find the temperature limit for your exact Intel or AMD model, then watch the CPU during normal use and a test.
- Check Windows: Look for WHEA hardware errors that appeared at the same time as a crash or restart.
- Test stability: Run an official Intel test or a monitored Prime95 test and watch for errors, freezes, or restarts.
A good result: The model and cores are correct, the temperature stays below the listed limit, and the test ends with no errors, freezes, or restarts.
1. Check the CPU During Startup
Turn on the PC and watch what happens before Windows loads. If it reaches the login screen, the CPU has completed the startup work, but it may still need a stability test. If the screen stays blank, look for a CPU light, a two-digit code, or a beep pattern on the motherboard.
Write down the exact light or code and check the manual for that motherboard. Meanings vary by brand and model, so a generic beep-code list can send you in the wrong direction. A CPU warning can also point to the socket, CPU power cable, or unsupported BIOS version. It does not prove the chip has failed.
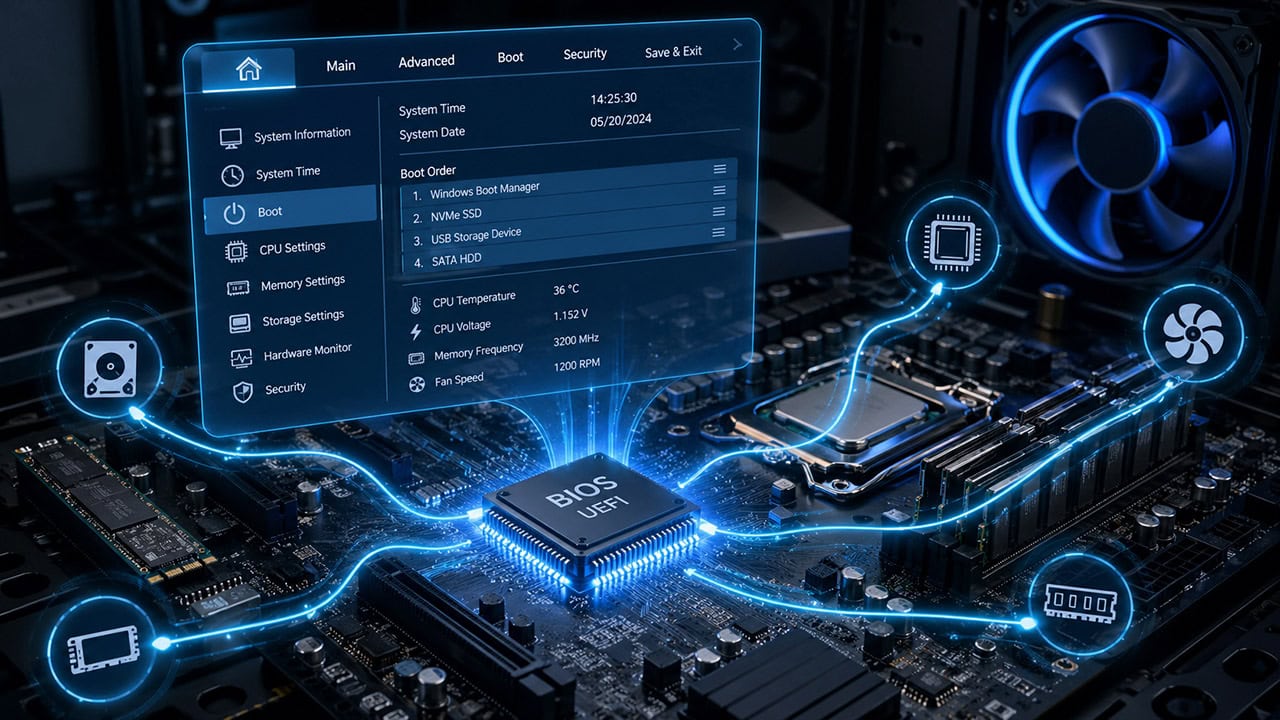
Check the BIOS or UEFI
Enter the setup screen by pressing the key shown during startup. It is often Delete or F2. Our guide to the BIOS and its main functions explains where this screen fits into the boot process.
- Confirm that a CPU name appears.
- Check that the CPU fan reports a speed.
- Look for a CPU temperature reading and any heat warning.
Do not remove the CPU yet. First check the motherboard manual, CPU power connection, supported-processor list, and required BIOS version. These checks are safer and faster than opening the socket.
2. How to Check What CPU You Have
In Windows, open Settings, select System, then About. The processor name appears under Device specifications. These are the steps in Microsoft's device information guide.
For more detail, press Ctrl + Shift + Esc, select Performance, then CPU. Task Manager lists the model, cores, and logical processors. Microsoft also provides a short guide for finding the CPU core count.
You can run msinfo32 if Task Manager will not open. The Processor line in System Summary gives the CPU name and basic details. See Microsoft's System Information instructions for the available ways to open it.
What should match: Compare the full model name and core count with the maker's page. Use Intel's processor catalog or AMD's processor specifications. If the BIOS shows every core but Windows does not, check Windows settings before treating it as a hardware fault.
3. How to Check CPU Health in Windows
Task Manager shows how the processor reacts to real work. Microsoft describes it as a tool for monitoring CPU load and finding apps that use system resources. On the Processes tab, select the CPU column to find the busiest apps. High use is not a fault by itself. It matters which app causes it and whether that app should be busy.
Next, open Performance and select CPU. Start an app you know well and watch the usage and speed change. Do not judge the chip by one fixed speed or usage percentage. Power plans, background tasks, core design, and the type of work can all change those readings. Use the process list to explain the load before running a hardware test.
Check the Windows Error Logs
Press Windows + X, open Event Viewer, then go to Windows Logs and System. Focus on entries recorded at the same time as the fault.
- WHEA-Logger: Windows uses WHEA to record hardware errors. The source may be a processor, memory, a system bus, or a PCIe device, so the entry is a clue rather than proof of a bad CPU. Microsoft lists these possible WHEA error sources.
- Kernel-Power, Event 41: This means Windows restarted without a clean shutdown. It does not name the cause. Microsoft's unexpected restart guide includes power loss, a crash, and a hard lock among the possible causes.
- WHEA_UNCORRECTABLE_ERROR, code 0x124: This blue screen reports a fatal hardware error. Microsoft notes that heat, memory, defective hardware, and a processor can all cause it. See the official 0x124 reference.
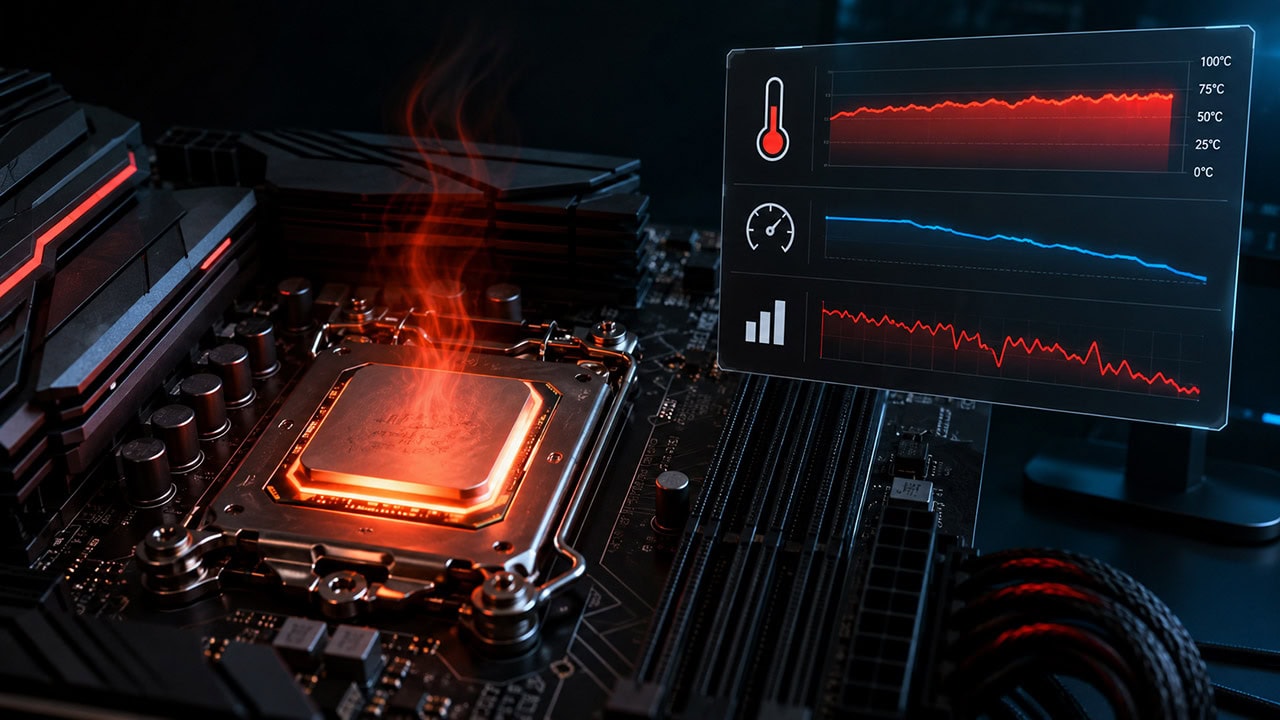
4. Check the CPU Temperature
There is no single safe temperature for every CPU. Intel tells users to find the exact processor and check its Tjunction or Tcase value in the product specifications. Its maximum operating temperature guide explains that the limit varies by model. AMD lists a maximum operating temperature, also called Tjmax, on its processor specification pages.
- Use the full CPU name from the previous section to find its official limit.
- Open a sensor tool such as HWiNFO and find the CPU temperature.
- Record the highest reading while doing the task that causes trouble.
- Compare that reading with the limit for your model.
Intel explains that a processor near its thermal limit can reduce its power and frequency to protect itself. If the reading reaches the model's limit, the clock speed drops, or the PC shuts down during load, stop the test and fix the cooling first. Check the fan, dust, cooler mount, and thermal paste by following the cooler maker's instructions. Our thermal throttling guide shows how to confirm the speed drop.
| Temperature result | What it means | Next step |
|---|---|---|
| Stays below the model's limit | Heat is less likely to be the cause | Continue to the stability test |
| Climbs to the limit quickly | The cooling system needs attention | Stop the load and inspect the cooler |
| Sensor is missing or clearly wrong | The reading cannot be trusted | Compare another tool with the BIOS reading |
5. Run a CPU Stability Test
Save your work, close other apps, and return the BIOS or UEFI to its default settings before testing. Microsoft recommends turning off overclocking while investigating a 0x124 hardware error. Keep the temperature sensor open throughout the test.
Use the Intel Processor Diagnostic Tool
If you have a supported Intel CPU and Windows, start with the Intel Processor Diagnostic Tool. Intel says it checks the processor name, operating frequency, features, and cores, then runs a stress test. The final screen shows PASS or FAIL.
Use Prime95 on Intel or AMD
Download Prime95 from the official GIMPS site. The developer states that its torture test uses all CPU cores and checks the results of a heavy workload. Choose Just Stress Testing, leave the default balanced test selected for the first run, and start the test.
For a practical first check, watch the test for 30 minutes. Stop at once if the temperature reaches the limit you found, the PC freezes, or it restarts. A clean run raises confidence, but it cannot prove that every app and hardware combination will be stable.
Pass: Every worker keeps running, no error appears, Windows stays responsive, and the CPU remains below its model-specific temperature limit.
Fail: A worker reports an error, the test closes, Windows freezes, or the PC restarts. One failed test shows system instability, not which part caused it. Use the checks in the next section to narrow it down.
6. How to Tell If a CPU Is Bad or Failing
A bad CPU becomes likely only when the same fault returns under controlled conditions. Use this order so that another part does not get blamed for the processor's symptoms:
- Record the failure. Note the test name, the first error, and the time it happened.
- Rule out heat. Do not continue until the CPU stays below its official limit.
- Test the memory. Follow our steps to check if the RAM is working properly.
- Check power and the motherboard. Reseat the CPU power cable and inspect the board's CPU warning light or code.
- Repeat the CPU test. Use the same settings and note whether the same error returns.
| Pattern | More likely cause | Why |
|---|---|---|
| CPU test fails again with good cooling and tested RAM | CPU, socket, or motherboard power | The main look-alike faults have been removed |
| Clock speed drops as temperature reaches the model's limit | Cooling | The processor is reacting to heat |
| Memory test also reports errors | RAM, memory settings, or memory controller | The CPU-only test cannot isolate the fault |
| Only games crash after the CPU test passes | Graphics card, driver, or power supply | The fault follows a different workload |
If the last pattern matches your PC, use our guide to check if the GPU is working properly. A repeatable CPU-test failure after the other checks is much stronger evidence than a slow PC, one blue screen, or high CPU usage.
7. Inspect the CPU and Socket
Open the socket only if earlier checks point there. Shut down the PC, unplug it, and follow the motherboard and cooler manuals. If you are not comfortable removing the cooler, use a repair shop.
Remove the cooler and processor only as directed for that socket. Look for bent or dirty contacts, thermal paste inside the socket, scorch marks, and damage around the CPU power area. Do not touch the contacts. Our guide to the parts of a motherboard can help you identify the socket and nearby power parts.
If nothing is damaged, reinstall the CPU and cooler using the maker's mounting and thermal-paste steps. Do not use these desktop removal steps on a laptop. Follow the service guide for that laptop or use a repair shop.
Repair or Replace the CPU?
Fix the cooling, BIOS settings, RAM, or power problem if one of those caused the failed check. A physically damaged or internally faulty CPU is not practical to repair at home.
Replace or claim the warranty when: the processor fails the maker's diagnostic, the same CPU-focused test keeps failing after cooling and RAM pass, or the chip has visible damage.
Get a second test first when: the PC will not pass startup, the socket is damaged, or the failure changes when the RAM or power supply is swapped. Those results can point to the motherboard or another part instead.
Related Posts
How to Know If Your CPU Is Thermal Throttling
Spot the signs of a CPU slowed by heat, confirm it with HWiNFO64, and learn the Intel and AMD limits that trigger it.
How to Check If a GPU Is Working Properly
The companion guide for graphics cards: monitoring tools, benchmarking, physical inspection, and common GPU faults with fixes.
Understanding the BIOS and Its Main Functions
What POST does, the BIOS Setup Utility, CMOS, Secure Boot, overclocking, and Legacy BIOS vs UEFI explained.

Why Do Computers Slow Down With Age?
The real causes of an aging PC slowing down, and the fixes that bring it back without a new computer.